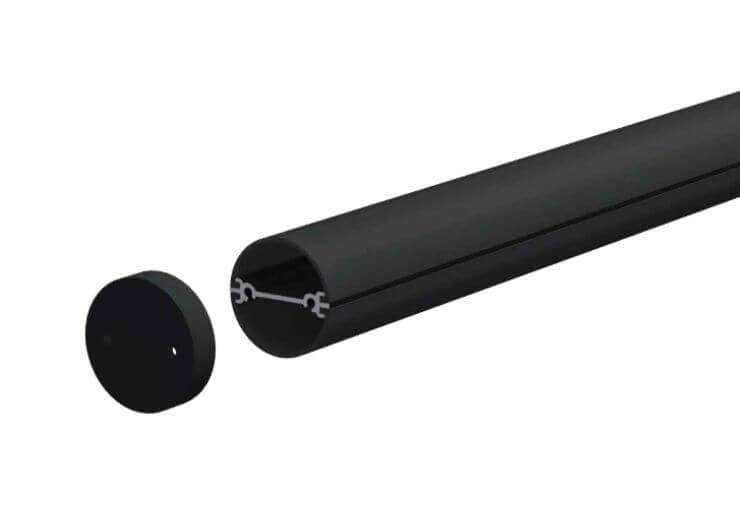
Installation Guide — How to Install a Black LED Channel Diffuser
Installing a black LED channel diffuser is a straightforward process designed to deliver sleek, professional lighting results.
Whether for luxury residential, retail displays, or architectural accents, following these steps ensures a flawless finish with your matte black LED channel or led channel diffuser black system.
Step 1: Measure & Cut
Start by measuring the exact length of the surface where you plan to install the channel. Mark your measurements on the black LED aluminum profile and the matching black led strip diffuser cover.
Use a fine-tooth hacksaw or miter saw to make clean, accurate cuts without rough edges.
After cutting, smooth any sharp corners with a file for safe handling and perfect fitting. Double-check that both the profile and diffuser align precisely, ensuring a neat and professional finish before moving to installation.
Step 2: Mount with Clips or Adhesive
Place the cut profile on the mounting surface and position it accurately. Secure the led channel diffuser black using stainless-steel mounting clips for easy repositioning or industrial-grade adhesive for a more permanent hold.
Clips are ideal for applications where future adjustments may be necessary. For overhead or vertical installations, adhesive helps maintain stability. Make sure the profile is level and firmly set.
Allow adhesives to cure if used, and check that the channel is fixed securely to prevent sagging or misalignment during the next installation steps.
Step 3: Insert LED Strip & Snap in Diffuser
Carefully insert your LED strip into the channel, aligning it evenly from end to end. Press gently to ensure full adhesion within the profile’s slot. Once the LED strip is properly placed, take the led strip black diffuser cover and snap it onto the aluminum housing.
Start from one end and apply gentle pressure along the length to secure it.
Ensure there are no gaps or misalignments, which can affect both light distribution and the visual finish. This step provides a smooth, continuous glow and conceals individual LED points for a spotless look.
Step 4: Connect and Test Brightness
After installation, connect the LED strip wiring to the power supply, ensuring all connections are insulated and secure. Turn on the power to test brightness and color uniformity.
Look for any dark spots, shadows, or misalignments in the led strip black diffuser cover. If necessary, adjust the LED strip placement or re-snap the cover for a perfect fit. Testing also allows you to verify compatibility with dimmers or smart control systems.
Once brightness and color consistency are confirmed, finalize the setup by adding end caps or connectors for a polished, professional finish.