
Maintaining your emergency lighting system is essential for safety, but it doesn’t have to strain your budget. Budget replace emergency light battery tasks are common yet crucial, allowing you to keep your system reliable without overspending.

Whether you’re managing a large facility or simply ensuring home safety, finding cost-effective ways to replace these batteries can save you money while keeping your emergency lights ready to perform.
This guide will walk you through practical tips for budget replace emergency light battery on a budget.
To replace an emergency light battery cost-effectively, look for reliable yet affordable options. Rather than opting for the cheapest choice, focus on budget-friendly brands that offer a good balance between price and long-term performance.
You can often find discounts or bulk deals online or at local hardware stores, making it easier to stick to your budget.
Next, gather the necessary tools. Basic tools like a screwdriver, wire strippers, and a voltage tester are often available affordably, especially when you shop around or buy secondhand. Follow the replacement steps carefully to avoid mistakes that could lead to additional expenses.
By using a thoughtful, budget-conscious approach, you can maintain your emergency lighting system effectively, ensuring safety and compliance while keeping costs in check.
Understanding the Costs Involved in Emergency Light Battery Replacement
Replacing an emergency light battery involves several costs that can add up, especially if you manage multiple units. The primary cost is, of course, the battery itself. Depending on the type and brand, emergency light batteries can range from $10 to $50 each.
While it’s tempting to opt for the cheapest option, it’s crucial to consider the balance between cost and quality. Cheaper batteries may have shorter lifespans or lower reliability, leading to more frequent replacements and potential failures when the lights are needed most.
In addition to the cost of the battery, you might also incur expenses for tools if you don’t already have them. Basic tools like a magnetic screwdriver, wire strippers, and a voltage tester are essential for the replacement process. These tools are generally affordable, but the costs can still add up if you need to purchase them all at once.
Another potential cost is the time and effort required to replace the batteries, particularly if you’re managing a large facility with many units.
Balancing cost with quality is essential to ensure that your emergency lights remain reliable and compliant with safety regulations.
Investing in a slightly more expensive, high-quality battery can save money in the long run by reducing the frequency of replacements and ensuring that your emergency lighting system is ready to perform during an outage.
Prioritizing quality over the lowest price helps maintain safety and minimizes the risk of unexpected failures that could endanger building occupants.
How to Choose Affordable but Reliable Batteries
Choosing the right battery for your emergency light is crucial for maintaining safety while sticking to a budget. It’s important to find batteries that offer good quality at an affordable price, ensuring your emergency lights are reliable without overspending.
Identifying Budget-Friendly Battery Brands
There are several battery brands that strike a good balance between affordability and quality. Brands like Duracell, Energizer, and Rayovac offer reliable performance at competitive prices.
While they may not be the cheapest options available, they are known for their durability and long life, which can save you money in the long run by reducing the frequency of replacements.
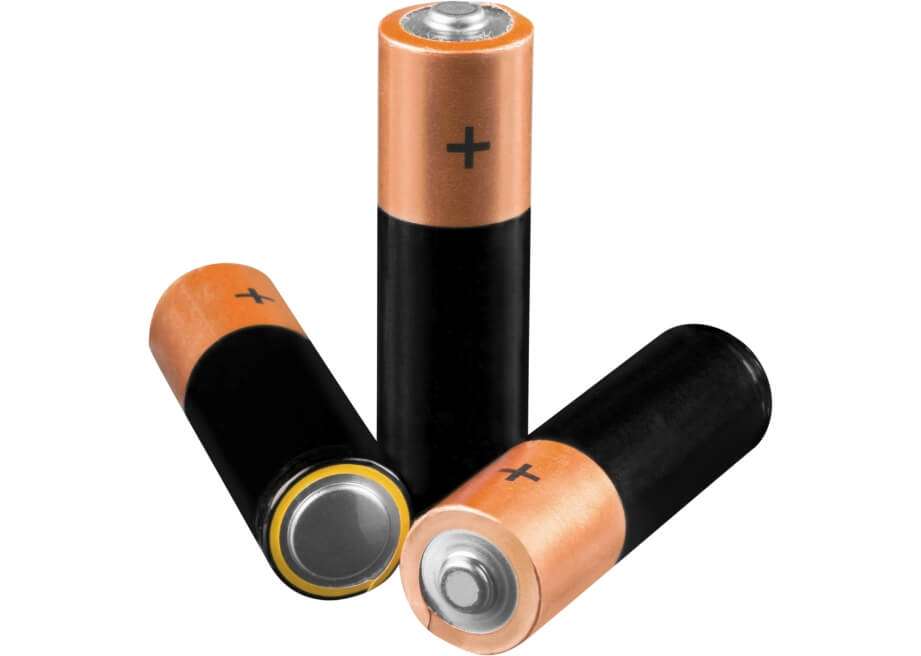
For those looking to save even more, consider lesser-known brands like Power-Sonic or Mighty Max, which are often available at lower prices but still provide dependable performance for emergency lighting applications.
To find the best deals, it’s worth shopping around. Online retailers like Amazon, eBay, and Battery Mart often offer discounts, especially if you buy in bulk. Keep an eye out for seasonal sales, coupon codes, and cashback offers, which can further reduce costs.
Additionally, signing up for newsletters from battery retailers or manufacturers can give you access to exclusive deals and promotions.
Evaluating Battery Specifications on a Budget
When selecting a budget replace emergency light battery, ensure it meets the required specifications for your emergency light without inflating costs. Begin by checking the necessary voltage and capacity (measured in ampere-hours or Ah) listed in the light’s manual or on the old battery.
Using a battery with incorrect voltage or capacity can lead to malfunctioning lights or reduced lifespan, potentially costing more over time.
When considering budget options, weigh the trade-offs between cost and performance. Cheaper batteries may offer shorter lifespans or lower power output, resulting in more frequent replacements.
However, you don’t need the priciest option. Instead, seek batteries that strike a good balance—meeting your light’s requirements while offering a reasonable lifespan at an affordable price. Checking customer reviews and product ratings can help identify reliable, cost-effective batteries that perform well.
By carefully choosing budget replace emergency light battery options that meet your lighting specifications, you can uphold safety standards and compliance without exceeding your budget.
Step-by-Step Guide to Replacing Emergency Light Batteries on a Budget
Replacing an emergency light battery doesn’t have to be expensive. By following these steps, you can ensure a cost-effective replacement process that maintains the safety and reliability of your emergency lighting system.
Step 1: Gathering Affordable Tools and Materials
The first step in replacing an emergency light battery on a budget is gathering the necessary tools and materials. Essential tools include a screwdriver (typically a Phillips head), wire strippers, and a voltage tester. These tools are widely available at hardware stores and online, and you don’t have to spend a lot to get quality items.
Consider looking for budget-friendly options at discount retailers, secondhand stores, or online marketplaces like eBay or Amazon, where you can often find gently used tools at a fraction of the price. You can also save money by purchasing multipurpose tools that combine several functions into one, reducing the need to buy multiple items.
For example, some screwdrivers come with interchangeable heads, allowing you to use them for various tasks.
Step 2: Powering Down the Unit Safely and Cost-Effectively
Before beginning the battery replacement process, it’s crucial to power down the emergency light unit to prevent any electrical hazards. This step is essential for your safety and ensures the unit is ready for maintenance. You don’t need specialized equipment to do this—just a basic voltage tester will suffice to confirm that the power is off.
To safely disconnect the power supply, locate the circuit breaker that controls the emergency light or simply unplug the unit if it’s connected to a standard outlet. Use the voltage tester to double-check that the power is completely off.
Voltage testers are relatively inexpensive, and many budget models perform just as well as their pricier counterparts. This small investment can save you from potential accidents and ensures that the replacement process starts smoothly.
Step 3: Accessing the Battery Compartment
Once the power is safely disconnected, the next step is to access the battery compartment. Most emergency lights have a cover secured by screws that protect the battery. You can easily remove this cover using a basic screwdriver, which is one of the most cost-effective tools for this task.
If the cover is difficult to remove, avoid the temptation to purchase specialized tools. Instead, a flathead screwdriver can often be used to gently pry open the compartment without damaging the unit. Keeping the process simple and relying on common household tools helps you avoid unnecessary expenses while still getting the job done effectively.
Step 4: Removing and Disposing of the Old Battery on a Budget
After accessing the battery compartment, the next step is to remove the old battery. Carefully disconnect the battery from its terminals, making sure not to damage the wires or connectors. Once the old battery is out, you’ll need to dispose of it responsibly.

Many communities offer free battery recycling programs, so check with your local waste management facility or electronics store for options. Some retailers, such as Home Depot or Lowe’s, also provide battery recycling services at no cost.
Avoid throwing the battery in the regular trash, as this can be harmful to the environment and may incur fines in some areas. By taking advantage of free recycling programs, you can dispose of the battery safely without incurring extra costs.
Step 5: Installing the New Battery Efficiently
With the old battery removed, it’s time to install the new one. Start by ensuring that the new battery matches the specifications required by your emergency light. Align the battery’s terminals with the connectors in the compartment, making sure that the positive and negative terminals are correctly positioned.
Budget-friendly techniques, such as using a screwdriver to gently secure the terminals or using electrical tape to reinforce loose connections, can help ensure a secure fit without the need for additional tools.
Double-check that the battery is seated properly and that all connections are tight to avoid issues down the line. This careful installation process helps prevent costly mistakes that could lead to further expenses or the need for another replacement sooner than expected.
Step 6: Reassembling the Unit
After the new battery is installed, reassemble the unit by replacing the compartment cover and securing it with the screws you previously removed. Use the same screwdriver you used earlier to tighten the screws evenly, ensuring that the cover is flush with the unit.
To save money, there’s no need to purchase specialized tools or fasteners; the basic tools you used to open the compartment are sufficient for reassembly. As you reassemble the unit, take a moment to inspect it for any loose components or misalignments that could affect its operation.
Ensuring everything is in place now will prevent potential issues and additional costs in the future.
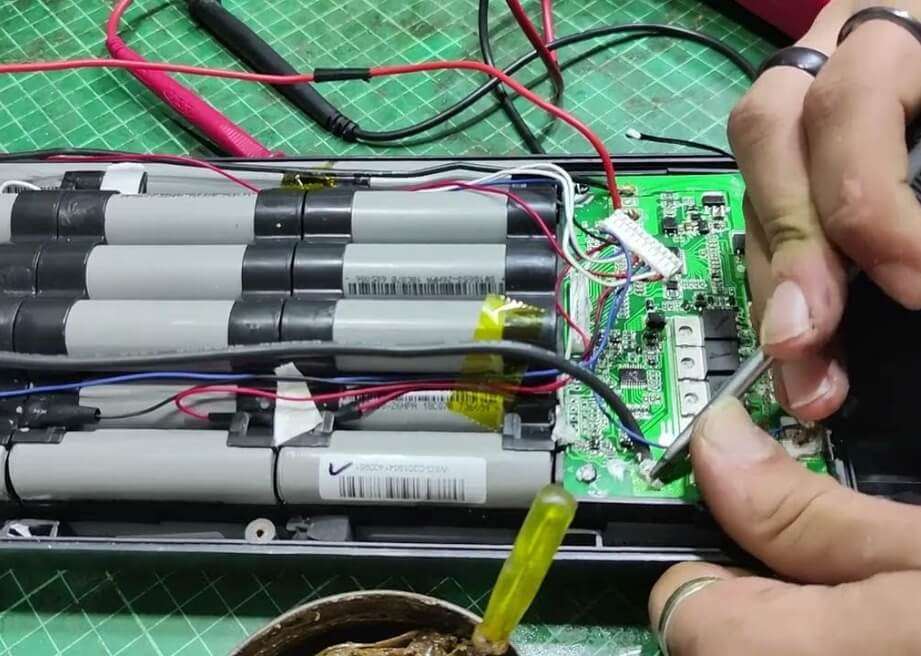
Step 7: Testing and Verifying the Installation
Once the unit is reassembled, the final step is to test the new battery installation to ensure everything is functioning correctly. Restore power to the emergency light by turning the circuit breaker back on or plugging the unit back in. Press the test button to activate the emergency light and confirm that the new battery is working properly.
For a cost-effective test, simply observe the light’s performance over a few minutes. If the light is bright and steady, the installation was successful. If it flickers or fails to illuminate, double-check the battery connections and make any necessary adjustments.
This simple testing process requires no additional tools or equipment, keeping costs low while ensuring that your emergency lighting system is ready to perform when needed.
By following these budget-friendly steps, you can replace your emergency light battery efficiently and effectively without incurring unnecessary expenses. This approach ensures that your emergency lighting system remains reliable and compliant with safety standards, all while staying within your budget.
Tips for Maintaining Emergency Lights on a Budget
Maintaining your emergency lighting system on a budget involves adopting strategies that prolong battery life and reduce the frequency of replacements. One effective approach is to conduct regular inspections and tests of your emergency lights.
By testing the lights monthly, you can identify and address issues early, preventing more costly repairs or replacements down the line.
Additionally, keeping the lights clean and free from dust or debris can help them operate more efficiently, extending the life of the batteries.
To further prolong battery life, consider using energy-efficient LED bulbs in your emergency lights. LED bulbs consume less power, reducing the strain on the battery and allowing it to last longer.
When it comes to keeping your system compliant with safety regulations without overspending, stay informed about the latest codes and standards.
Many updates focus on efficiency improvements, which can often be implemented at a low cost. By staying proactive with maintenance and making smart choices about upgrades, you can maintain a reliable emergency lighting system without breaking the bank.
Common Pitfalls to Avoid When Replacing Batteries on a Budget
When replacing emergency light batteries on a budget, there are common pitfalls that can end up costing more in the long run. One major mistake is opting for the cheapest batteries without considering their quality or lifespan.
Low-cost batteries may need to be replaced more frequently, ultimately leading to higher overall costs. To avoid this, balance affordability with reliability by choosing batteries from reputable brands that offer good value for money.
Another pitfall is skipping necessary steps in the replacement process to save time or effort.
For example, failing to properly secure the battery connections or neglecting to test the unit after installation can lead to malfunctions or even damage to the light, resulting in additional repair costs.
Finally, not disposing of old batteries correctly can lead to environmental fines or hazardous waste fees.
By carefully selecting quality batteries, following the correct replacement procedures, and responsibly disposing of old batteries, you can maintain a budget-conscious approach while ensuring the long-term reliability of your emergency lighting system.
Tools and Resources for Affordable Emergency Light Maintenance
When replacing emergency light batteries on a budget, having the right tools is essential.
Affordable tools like a magnetic screwdriver, wire strippers, and a voltage tester make replacing an emergency light battery easy and efficient.
Find these budget-friendly tools at discount stores, online marketplaces like Amazon or eBay, or even secondhand shops for a fraction of the cost compared to new, high-end options.
For additional savings, consider multipurpose tools that combine several functions, reducing the need to purchase multiple items.
For further reading and resources, websites like the National Fire Protection Association (NFPA) offer guidelines on maintaining emergency lights cost-effectively.
Online tutorials and DIY videos can also provide step-by-step instructions on battery replacement, helping you avoid common mistakes and unnecessary expenses.
By utilizing these tools and resources, you can maintain your emergency lighting system effectively while keeping costs low.
Conclusion
Replacing an emergency light battery on a budget is entirely possible with the right approach.
By choosing affordable yet reliable batteries, gathering budget-friendly tools, and following a careful, step-by-step process, you can ensure that your emergency lighting system remains both safe and compliant without overspending.
Regular maintenance and smart purchasing decisions can further extend the life of your batteries and reduce replacement frequency.
Remember, saving money doesn’t mean cutting corners—it’s about making informed choices that balance cost and quality. If you encounter any challenges or are unsure about any part of the process, don’t hesitate to seek professional help.
Maintaining the reliability of your emergency lighting system is critical, and there are plenty of resources available to help you do so affordably.
