
LED Strip Lights for Science Lab projects need safe low-voltage design, stable color rendering, controlled glare, chemical-resistant protection, reliable drivers, and documented compliance. The right strip system helps technicians see samples clearly, reduces installation callbacks, and supports safer bench, cabinet, shelf, and task-lighting layouts.
Science labs are demanding spaces. A weak lighting plan can create shadowed benches, color errors during observation, driver noise near instruments, or early failures caused by heat and chemical vapors. That becomes more than a lighting problem. It can create project delays, rework costs, and safety questions from facility managers.
The practical solution is to specify the strip, profile, driver, dimming method, ingress rating, and wiring layout as one system. From our manufacturing floor perspective, lab lighting succeeds when the supplier can match photometric data with real installation limits, not just quote watts per meter.
This guide explains how to choose led strip lights for science lab projects, focusing on task accuracy, durability in chemically active environments, thermal management, compliance, and installation best-practice.
1. What makes science lab lighting different from normal commercial lighting?
Visual accuracy at benches
OSHA’s laboratory safety guidance provides broader context for coordinating lighting equipment, electrical installations, chemical controls, work practices, and maintenance procedures in laboratory environments. A retail shelf can tolerate decorative brightness. A lab bench cannot. Technicians may inspect liquid color changes, read vial labels, position pipettes, or check fine particles under cabinets. Poor color rendering can cause mistakes that are hard to trace later.
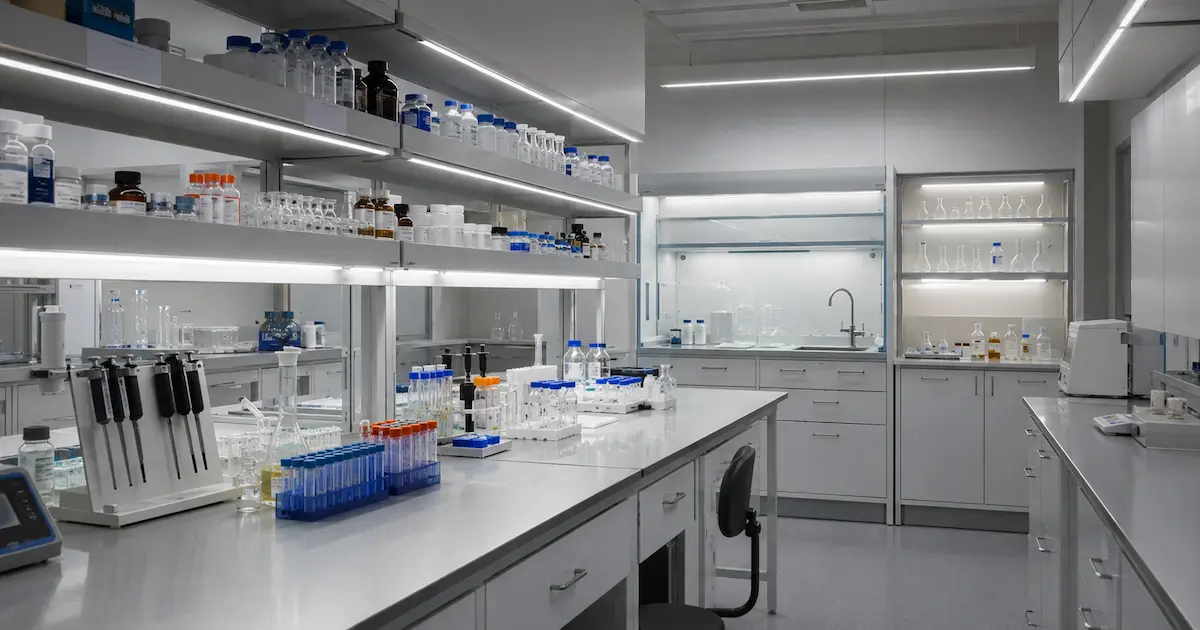
Risk areas in a lab
LED strip lights for science lab installations often sit under shelves, inside analytical stations, around equipment frames, and above worktops. These zones face splashes, disinfectants, vibration, and long operating hours. In our lab tests using integrating spheres, we often compare lumen output before and after aging because some strips look bright on day one but drop quickly after thermal stress.
Here’s the deal: lab lighting is not about making a room look modern. It is about repeatable visibility.
| Lab Area | Lighting Need | Strip Light Risk | Practical Spec |
|---|---|---|---|
| Wet bench | Splash resistance | Moisture ingress | IP65 or higher |
| Chemical prep zone | Accurate color view | Low CRI misreading | CRI 90+ |
| Instrument shelf | Low heat | Thermal drift | Aluminum profile |
| Storage cabinet | Even visibility | Dotting and shadows | COB or dense SMD |
| Clean zone | Easy cleaning | Dust traps | Sealed diffuser |
2. Which LED strip type works best for science lab benches?
SMD, COB, and high-density strips
The main options are SMD LED strips, COB LED strips, and high-density SMD strips. SMD strips are cost-effective and widely used. A COB LED strip creates a smoother, more continuous light line with fewer visible LED points, making it suitable for reflective laboratory benches and glassware. High-density SMD strips can also give uniform output when used with a diffuser.
For under-shelf laboratory lighting, COB strips are often preferred because they reduce dot shadows on glassware and stainless worktops. For general cabinet lighting, dense SMD strips inside opal profiles can work well. For equipment makers adding lighting into an enclosure, customized PCB width, solder pads, and pre-cut lengths may reduce assembly time.
We often see installers struggle with dot reflection on glossy benches. They choose a standard 60 LED/m strip, then the user complains about striped reflections on the surface. That creates a callback, even when the strip itself is working.
| Strip Type | Best Use in Lab | Strength | Limitation |
|---|---|---|---|
| SMD 2835 | Cabinets, shelves | Good efficiency | Visible dots without diffuser |
| SMD 2216 high-density | Under cabinets | Smooth light | Higher material cost |
| COB strip | Bench task lighting | Dot-free appearance | Needs thermal planning |
| Rigid LED bar | Equipment frame | Easy mounting | Less flexible |
| Silicone neon strip | Wet areas | Sealed body | Larger bending radius |
3. How do color temperature and CRI affect lab work?
Choosing CCT for task visibility
Color temperature affects comfort and concentration. Most science lab areas use 4000K or 5000K. A 4000K strip feels neutral and comfortable for long shifts. A 5000K strip gives a cooler, daylight-like appearance that can help with fine visual work. Very cool 6500K light may feel harsh in long operating periods, although some inspection stations request it.
CRI matters because lab users often judge color differences in samples, labels, stains, reagents, or biological media. A CRI 80 strip may be acceptable for corridors, but a high-CRI LED strip rated at CRI 90 or above is generally more suitable for laboratory benches and inspection stations. The CIE technical report on colour rendering of white LED light sources provides additional background on evaluating how accurately LED illumination represents object and sample colors.
Common Myth: higher wattage always means better brightness. Reality: brightness depends on lumen efficiency, LED density, optics, thermal control, and driver quality. When we tested this against a standard 12V strip, a lower-wattage high-efficiency strip produced similar visible light with less heat.
| Parameter | Typical Lab Recommendation | Why It Matters |
|---|---|---|
| CCT | 4000K–5000K | Balanced visibility and comfort |
| CRI | 90+ for task areas | Better color judgment |
| R9 | 50+ or higher where needed | Better red color accuracy |
| Binning | 3-step or 5-step SDCM | Fewer visible color differences |
| Flicker | Low flicker driver | Better comfort near instruments |
The following video explains how correct light levels, uniform distribution, and glare control contribute to safer and more effective technical workspaces.
4. Should a science lab use 12V, 24V, or constant-current strips?
Voltage selection and run length
Voltage choice affects wiring, voltage drop, heat, and installation labor. For short cabinet sections, 12V strips can work. For longer bench rows, a 24V LED strip is usually more practical because it carries lower current for the same power and helps maintain more consistent brightness. Lower current reduces voltage drop and helps keep brightness more consistent from one end to the other.
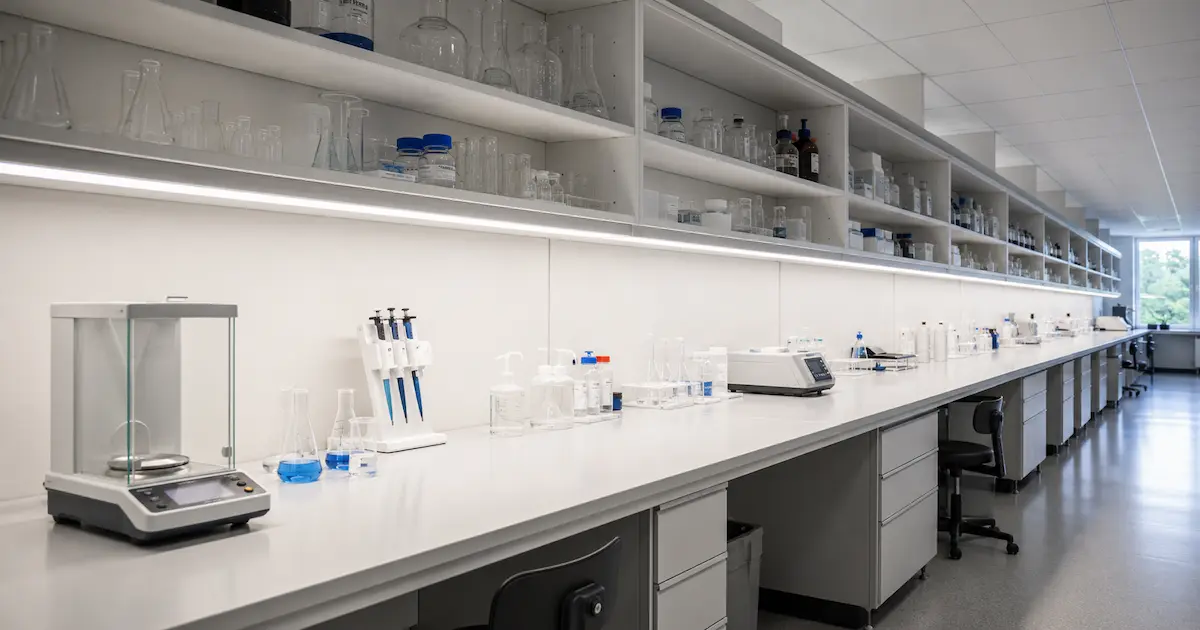
For very long linear runs, a constant-current LED module or segmented power injection layout may be the safer design. We once saw a university bench lighting project fail because the contractor powered 18 meters of 12V strip from one end. The far end looked visibly dimmer, and the facility team rejected the finish.
Pro Tip from the VST Technical Team: “Calculate current before choosing wire size. Many failures blamed on the LED strip are really wiring and driver layout problems.”
| Feature | 12V LED Strip | 24V LED Strip | Constant-Current System |
|---|---|---|---|
| Best run length | Short sections | Medium to long sections | Controlled long systems |
| Voltage drop | Higher risk | Lower risk | Low if designed well |
| Cutting interval | Shorter | Longer | Depends on module |
| Driver options | Very common | Very common | More specialized |
| Lab use case | Small cabinets | Bench rows, shelves | Precision equipment lighting |
5. What IP rating and material protection do lab strip lights need?
Moisture, vapors, and cleaning agents
Lab lighting may face water splashes, alcohol wipes, diluted disinfectants, dust, and chemical vapors. IP20 open strips should only be used inside dry, protected profiles. An IP65 LED strip can provide useful splash and dust protection around wet benches and cleaning zones, but its cut ends, joints, and cable exits still require proper sealing. IP67 or IP68 products suit wetter locations, yet they can trap heat if the design lacks metal heat sinking.
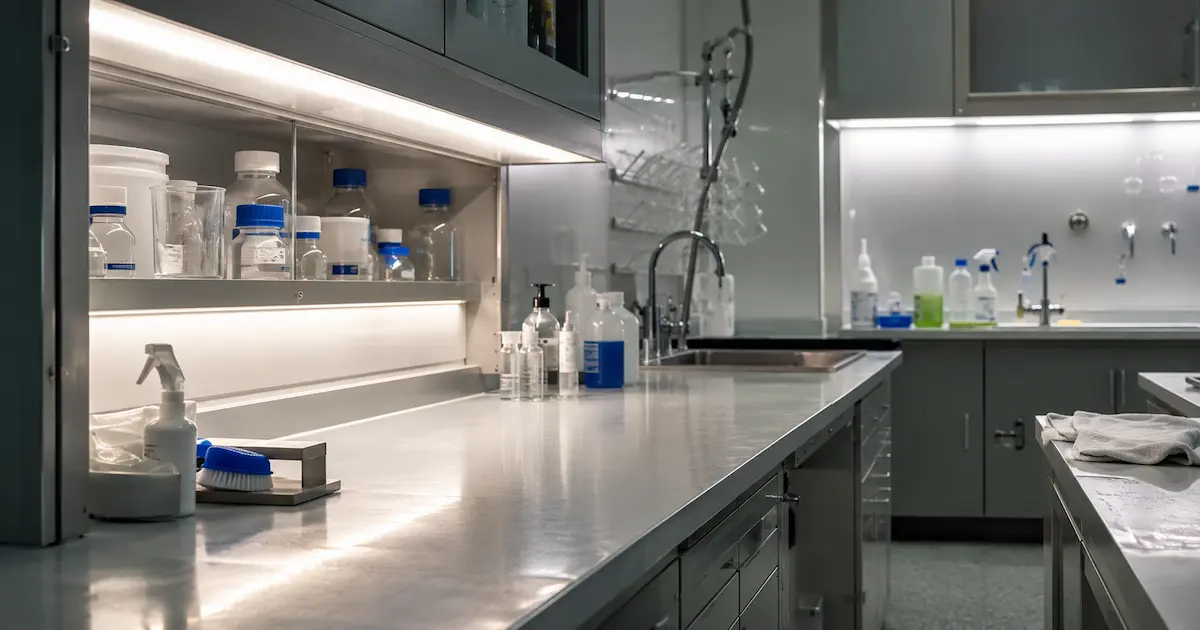
This is where it gets practical. A sealed strip is not automatically more durable. If heat cannot escape, the LEDs age faster. For benches with frequent cleaning, a sealed aluminum profile with an opal cover can be easier to wipe than a bare silicone strip.
From our manufacturing floor perspective, end caps and cable exits are often the weak point. The strip body may pass a water test, while a poorly sealed joint fails after several cleaning cycles.
| IP Rating | Suitable Lab Use | Main Benefit | Watch Point |
|---|---|---|---|
| IP20 | Dry enclosed profiles | Best heat release | No splash protection |
| IP65 | Splash-risk benches | Basic moisture barrier | End sealing quality |
| IP67 | Wet or washdown areas | Stronger sealing | More heat buildup |
| IP68 | Special wet zones | Long moisture exposure | Confirm chemical limits |
| Profile with cover | General lab benches | Cleanable surface | Match cover and clips |
The IEC explanation of ingress protection ratings can help project teams interpret how the two rating numerals describe resistance to solid-object and liquid intrusion.
6. How should heat dissipation be handled in laboratory LED strip design?
Thermal path from PCB to air
Understanding the common causes and practical solutions for LED strip heat issues can help project teams prevent lumen loss, adhesive failure, color shift, and premature strip aging. Labs often run lights for long hours, sometimes 10 to 16 hours per day. If the strip is mounted directly on wood, plastic, or painted panels without thermal support, junction temperature rises and lumen maintenance drops.
Aluminum profiles solve two problems at once. An aluminum profile for LED strip lighting provides a straight, protected mounting line while acting as a heat sink during long laboratory operating hours. A deeper profile can also hide dotting and reduce glare when paired with a diffuser. For high-output bench lighting, do not rely only on the adhesive tape. Use clips or screws, especially under shelves where heat and cleaning cycles weaken adhesive.
In our thermal imaging checks, a strip mounted on bare plastic can run much hotter than the same strip mounted in aluminum. That difference can decide whether a project lasts years or creates warranty pressure within months.
| Installation Method | Thermal Result | Reliability Risk | Better Practice |
|---|---|---|---|
| Strip on wood | Poor heat path | Faster lumen loss | Use aluminum profile |
| Strip on plastic | Heat buildup | Adhesive failure | Add metal channel |
| Strip in shallow profile | Moderate cooling | Dotting may show | Use diffuser wisely |
| Strip in deep profile | Better light mixing | Larger size | Good for benches |
| Strip with clips | Stable mounting | More labor | Best for long projects |
7. What driver and dimming choices suit science labs?
Stable power, low flicker, and control
Drivers can make or break a lab lighting project. A low-grade power supply may cause flicker, audible noise, poor dimming, or early failure. Labs may also contain sensitive instruments, so electromagnetic compatibility and driver placement should be planned carefully.
A proper LED profile driver calculation should include strip wattage, total run length, voltage drop, cable loss, dimming equipment, and sufficient capacity headroom. A practical rule is to load drivers at about 80% of rated capacity rather than pushing them to the limit. For dimming, 0-10V, DALI, PWM, or DMX can all work, but the right choice depends on the building control system and the need for scene control.
But there’s a catch: not all dimmers match all drivers. We have seen cleanroom cabinet lighting flicker because the dimmer output frequency conflicted with the LED controller. The fix was not replacing every strip. It was matching the driver and dimming interface. The U.S. Department of Energy’s flicker research provides further technical background on temporal light modulation, driver behavior, visual discomfort, and the importance of properly matched controls.
| Driver Factor | Recommended Approach | Business Impact |
|---|---|---|
| Power reserve | Use around 80% load | Lower failure risk |
| Certification | CE, RoHS, UL, CB where required | Easier project approval |
| Flicker | Use low-flicker driver | Better visual comfort |
| Control | Match 0-10V, DALI, PWM, or DMX | Fewer commissioning issues |
| Placement | Keep away from heat and chemicals | Longer service life |
8. How can installation details prevent callbacks and rework?
Wiring, profiles, cuts, and labels
Installation quality affects safety and margin. Even a good strip can fail if installers cut it incorrectly, overload a circuit, skip strain relief, or leave solder joints exposed. Following professional LED strip light wiring practices also helps installers protect polarity, connector integrity, strain relief, cable routing, and moisture-sensitive joints.
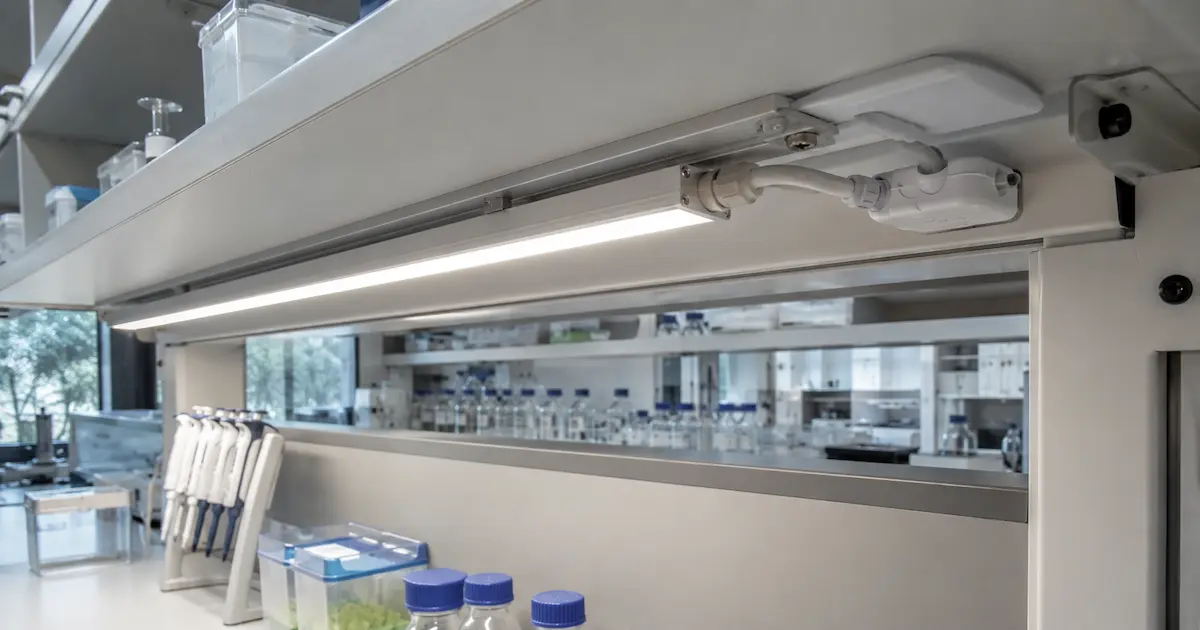
We often see installers struggle with under-bench cable routing. They leave cables hanging near cleaning zones, then the facility team asks for rework. A better plan uses cable channels, sealed exits, and driver locations that maintenance staff can access without removing fixed furniture.
Here is a quick reference table for project teams.
| Installation Check | What to Verify | Common Failure | Field Fix |
|---|---|---|---|
| Voltage drop | Measure far-end voltage | Dim end sections | Add power injection |
| Polarity | Check + and – before power | No light or damage | Label cables |
| Cut points | Cut only at marked pads | Dead section | Use factory cut lengths |
| Mounting | Use clean metal surface | Strip falls down | Add clips or screws |
| Sealing | Seal cable exits | Moisture failure | Use proper end caps |
| Driver load | Check total watts | Overheating driver | Use larger driver |
For distributors and contractors, this matters to the bottom line because each callback can erase the profit from several successful orders.
9. Which certifications and documentation should buyers request?
Compliance for safer approvals
Lab projects often involve facility managers, safety officers, consultants, and electrical inspectors. They may ask for more than a product photo and a price. You should request datasheets, photometric data, certification reports, RoHS statements, installation instructions, and driver compatibility notes.
CE and RoHS are common for European projects. UL or ETL may be required in North America. CB reports can support wider acceptance in some markets. For lab furniture manufacturers, documentation also supports internal quality records and repeat production.
We explain this specific documentation point because missing paperwork can delay site handover even if the lighting works perfectly. A procurement manager may save a few cents per meter, then lose weeks waiting for corrected files.
A useful technical file for led strip lights for science lab supply should include:
| Document | Why Buyers Need It | Red Flag |
|---|---|---|
| Datasheet | Confirms watts, CCT, CRI, IP | No test conditions shown |
| LM data or aging data | Shows lumen maintenance trend | Only day-one brightness |
| Certification report | Supports compliance | Logo without report number |
| Wiring diagram | Helps installers | Generic drawing only |
| Batch label | Supports traceability | No production code |
| Warranty terms | Defines responsibility | Vague failure coverage |
10. How should buyers specify LED strip lights for repeat lab projects?
Turning specs into repeatable orders
Repeat lab projects need a clear specification sheet. Without one, each order can drift in CCT, PCB width, LED density, adhesive type, driver brand, cable length, or connector style. That creates visible mismatch and installation confusion.
A good purchase specification should name the strip model, voltage, watts per meter, lumen output, CRI, CCT, SDCM tolerance, IP rating, profile type, diffuser type, driver model, dimming method, cable length, connector type, and packaging label. For OEM lab furniture, include cut length tolerance and lead-wire exit direction.
From our manufacturing floor perspective, the best projects start with drawings. Even a simple bench sketch with dimensions helps engineering teams calculate power injection, driver location, profile length, and cable routing. It also reduces unclear emails and protects delivery schedules.
Use this buyer checklist before confirming production:
| Specification Item | Target Detail | Why It Protects the Project |
|---|---|---|
| CCT and SDCM | 4000K/5000K, 3-step if needed | Reduces color mismatch |
| CRI and R9 | CRI 90+, R9 where required | Better visual accuracy |
| Voltage | Usually 24V for longer runs | Less voltage drop |
| Profile | Aluminum with diffuser | Heat control and glare reduction |
| Driver | Certified, low flicker | Stable power |
| Custom leads | Pre-soldered length | Faster installation |
| Packaging | Room or bench labels | Easier site sorting |
Final Thoughts
LED strip lights for science lab projects must be specified as a complete system: strip, profile, driver, control, wiring, sealing, and documents. The goal is stable visibility, safer installation, and fewer callbacks. Pay close attention to CRI, CCT, voltage drop, heat, and certification files. If you are unsure about voltage drop or driver loading for a specific bench layout, send the drawing to our engineering team. We can calculate it manually and suggest a practical layout.
FAQ
Q1: What are led strip lights for science lab applications?
They are linear LED lighting systems designed for benches, shelves, cabinets, equipment frames, and task areas in laboratories. A lab-grade setup usually includes the LED strip, aluminum profile, diffuser, driver, control method, and protection against moisture or cleaning exposure.
Q2: Is 12V or 24V better for science lab LED strips?
For short cabinet runs, 12V can work well. For longer bench runs, 24V is usually better because it reduces current and limits voltage drop. This helps keep brightness more uniform across the length.
Q3: What CRI should be used in a science lab?
CRI 90+ is recommended for bench task lighting and inspection areas. If users need better red color accuracy, request R9 data too. CRI 80 may be acceptable for storage or non-critical background lighting.
Q4: Do lab LED strips need waterproof protection?
It depends on the zone. Dry enclosed areas may use IP20 inside a profile. Splash-prone benches often need IP65 or a sealed profile. Wet or washdown zones may need IP67 or IP68, but heat control must still be checked.
Q5: How can buyers reduce installation callbacks?
Use a clear specification, calculate voltage drop, avoid overloading drivers, request pre-soldered leads, use aluminum profiles, label polarity, and seal cable exits. A small amount of planning usually saves far more time during installation.
