
For readers interested in the measurement science behind these tests, NIST explains how integrating-sphere technology supports the realization of the lumen and the measurement of total luminous flux.
1. What Are V-Shape LEDs and Why Are They Faster to Install?
V-Shape LEDs are LED strip assemblies mounted inside a V-shape LED channel, usually positioned to direct light at approximately 45 degrees across two surfaces. This arrangement spreads light in two directions instead of illuminating only one flat plane.
Here’s the deal: the V form reduces dark corners and makes the finished light look wider. In a retail shelf, it can wash both the product face and the back panel. In a hotel cove, it can soften the light line. In a product display box, it can reduce harsh glare from a single straight strip.
We often see installers struggle with flat LED strips in corners because the beam points the wrong way. They compensate by adding more strips, more drivers, or wider channels. That raises labor and material cost. A V-shaped LED setup can solve that by putting light where the project needs it.
| V-Shape LED Use Case | Typical Mounting Area | Main Benefit | Field Note |
|---|---|---|---|
| Retail display shelf | Front inner corner | Wider product wash | Reduces visible shadow under shelf lip |
| Hotel cove | Ceiling corner | Softer reflected light | Needs careful driver placement |
| Sign cabinet | Internal V channel | Even face lighting | Test before closing the panel |
| Furniture lighting | Wardrobe or cabinet | Better side coverage | Use low-heat strip types |
2. Which Tools and Materials Do You Need Before Installation?
A smooth V-Shape LED installation starts before anyone peels adhesive backing. Prepare the tools, accessories, and drawings. Missing one connector or undersized cable can stop a team on site and create expensive waiting time.
Your basic kit should include V-shaped aluminum profiles or prebuilt V LED modules, LED strips, LED drivers, DC cables, soldering tools or rated connectors, end caps, screws, clips, alcohol wipes, heat shrink tubes, multimeter, and a power meter. For production furniture or display units, pre-soldered leads can save real labor. We often recommend pre-cut lengths and labeled cable exits for repeat projects because installers spend less time measuring and correcting.
Before arriving on site, confirm that all required corner LED channel accessories, diffusers, covers, and mounting options are compatible with the selected profile, strip width, installation surface, and cable-exit direction.
But there’s a catch. Tool quality matters. A weak crimping tool can create intermittent faults. Low-grade double-sided tape can fail after several heat cycles. A low-cost driver with poor ripple can cause flicker in video environments such as showrooms.
| Item | Recommended Spec | Why It Matters | Risk If Ignored |
|---|---|---|---|
| LED driver | 20% spare capacity | Handles real load safely | Driver overheating |
| Cable | Rated for current and length | Limits voltage drop | Dim far end |
| Aluminum V profile | Good contact surface | Moves heat away | Shorter LED life |
| Multimeter | DC voltage reading | Confirms polarity and drop | Wrong diagnosis |
| Alcohol wipe | Residue-free surface prep | Improves adhesion | Strip falls down |
3. How Do You Plan Layout, Voltage, and Power Capacity?
Good planning keeps the installation clean. Start with the lighting drawing. Mark every V-Shape LED run, cable exit, driver location, switch point, dimmer, and maintenance access point. Then calculate wattage and current.
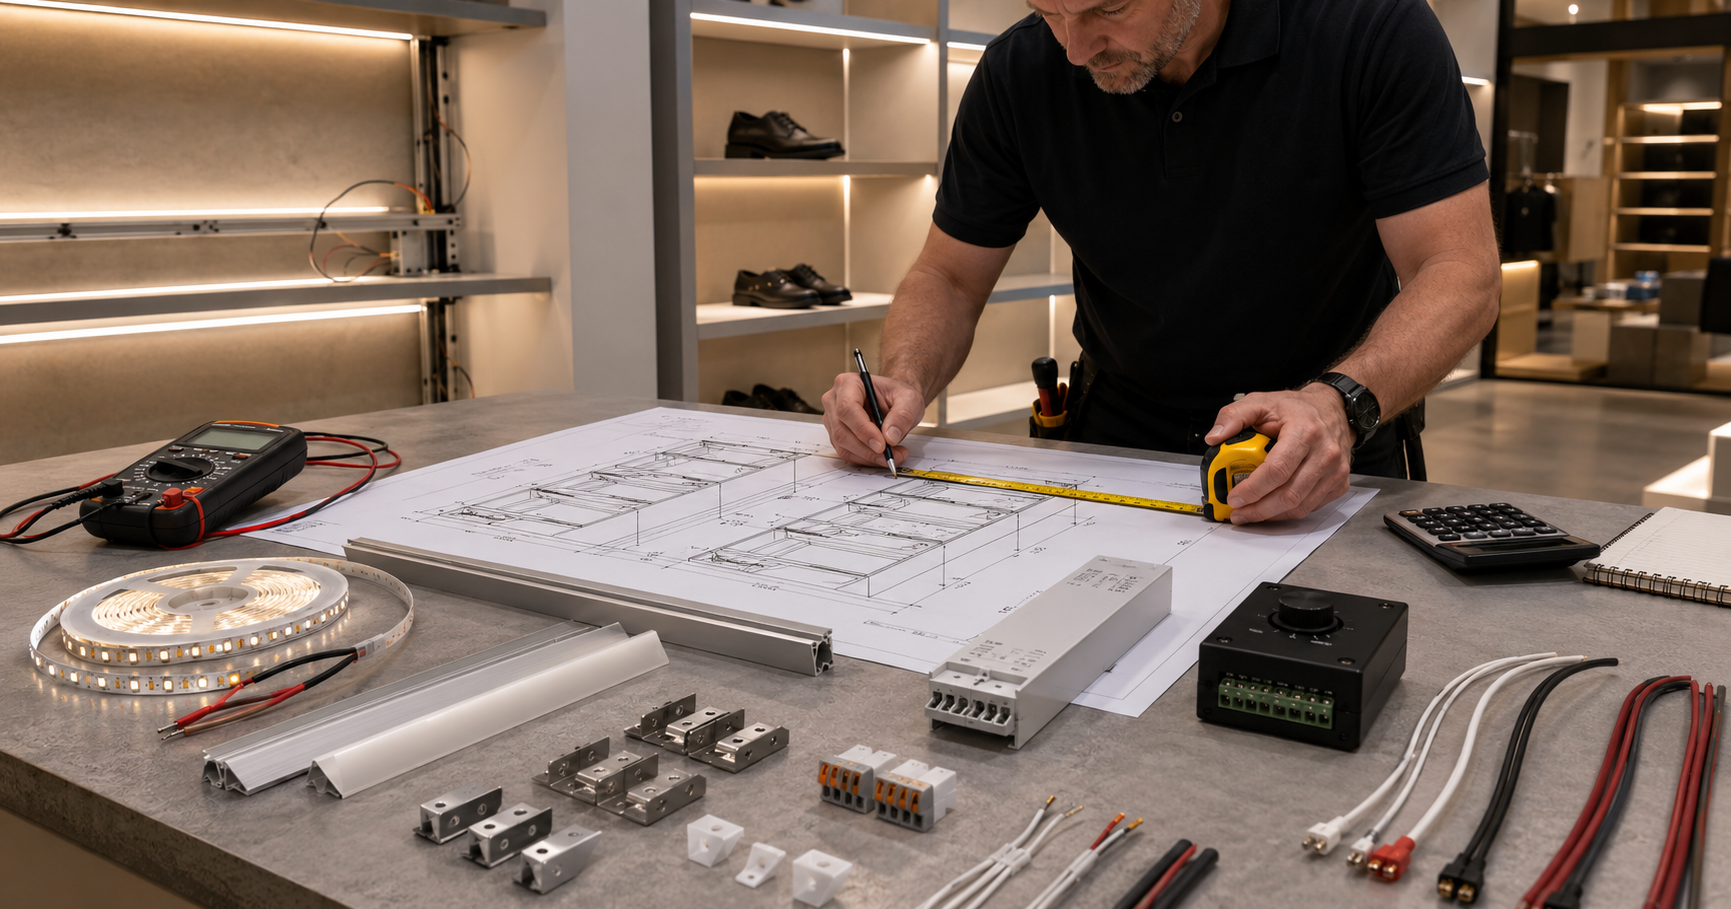
For example, a 24V strip rated at 14.4W/m over 10 meters requires 144W. Using an accurate LED profile driver calculation helps installers include suitable spare capacity rather than operating the power supply continuously at its maximum rating. A driver of around 180W or more may be appropriate, depending on the manufacturer’s specifications and project conditions.
When we tested this against a standard 12V strip, the 24V version showed lower current for the same wattage. Lower current means less voltage drop across the same cable length. That is why 24V is often better for long commercial shelves, linear coves, and signage.
Common Myth: Higher wattage always means better brightness. Reality: lumen efficiency, LED type, diffuser loss, and thermal control decide the useful light.
| Option | 12V V-Shape LED | 24V V-Shape LED |
|---|---|---|
| Best for | Short cabinets, small signs | Longer shelves, coves, commercial runs |
| Current level | Higher at same wattage | Lower at same wattage |
| Voltage drop risk | Higher | Lower |
| Driver choice | Common, many small sizes | Better for medium runs |
| Field recommendation | Under 5m per feed | Often 5 610m per feed, project dependent |
4. How Should You Prepare the Mounting Surface and V Profile?
Surface preparation is where many failures begin. Dust, oil, powder coating residue, moisture, and rough paint can weaken adhesive tapes. Even high-quality LED strips can fall if the base surface is poor.
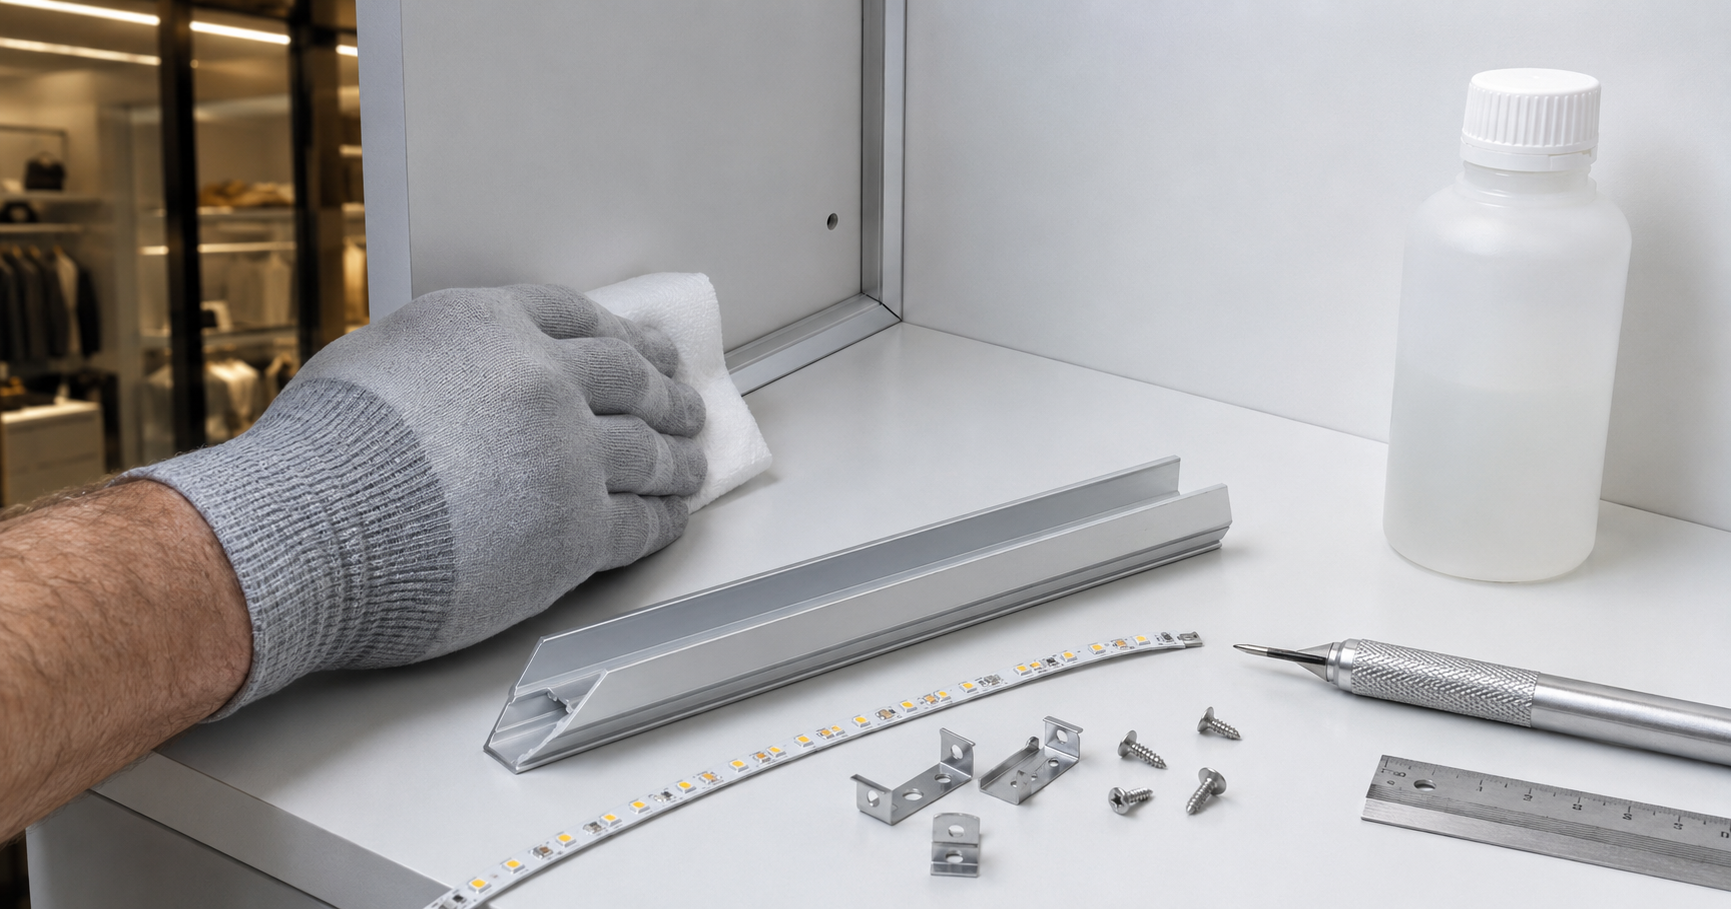
Clean the area with isopropyl alcohol and let it dry. Do not install strips on fresh paint before it cures. For aluminum V profiles, check that the strip sits flat and makes continuous contact. Air gaps reduce heat transfer. If you use clips or screws, pre-drill holes and remove metal burrs. Burrs can cut insulation or create uneven pressure.
We once saw a display project fail because the installer attached strips directly to wood inside a closed cabinet. The lighting looked fine during handover, but heat built up after daily operation. Several sections yellowed and lost brightness within months. Aluminum profiles would have reduced that risk.
Pro Tip from the VST Technical Team: “For high-density LED strips, treat aluminum profile contact like a heat path, not just a mounting detail. Poor contact can raise LED junction temperature and shorten lifetime.”
| Surface Type | Preparation Method | Mounting Advice | Watch Point |
|---|---|---|---|
| Bare aluminum | Wipe and dry | Adhesive plus pressure | Remove oxidation dust |
| Painted metal | Check paint bonding | Use clips for safety | Avoid weak paint layers |
| Wood | Seal and level | Prefer aluminum profile | Heat buildup |
| Plastic | Test adhesion | Use mechanical support | Softening under heat |
5. How Do You Cut, Connect, and Protect V-Shape LED Strips?
Cut only at marked cut points. Following a proper professional LED strip cutting process helps prevent damaged copper pads, wasted segments, uneven edges, and unreliable reconnections. Use sharp scissors or an appropriate cutting fixture, and confirm the polarity marks immediately after every cut. Cutting between copper pads can destroy a segment and waste material. Use sharp scissors or a proper cutting fixture for clean edges. After cutting, check the polarity marks. Most failures during installation come from reversed polarity, poor solder joints, or connectors not biting the copper pad correctly.
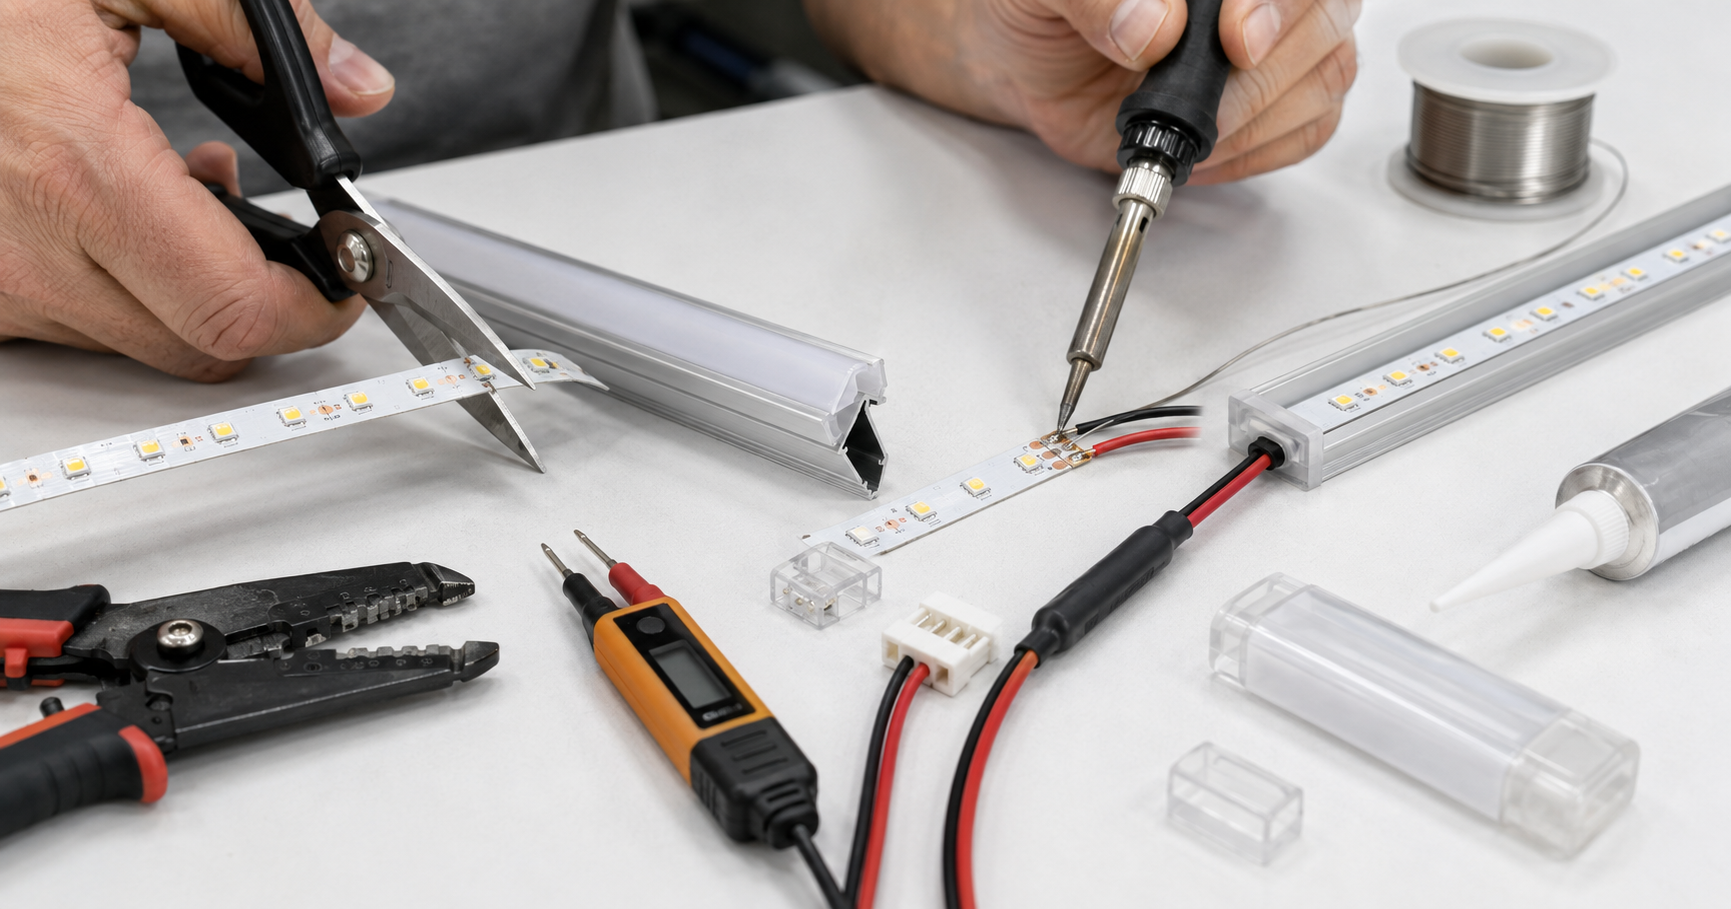
For commercial work, soldering gives a more stable connection than many clip connectors, especially in vibration areas. Installers who need to join custom sections should understand how to cut and reconnect LED strips safely, including copper-pad preparation, polarity confirmation, connector compatibility, soldering temperature, insulation, and strain relief.
Waterproof strips need careful end sealing after cutting. Before selecting a strip or enclosure for damp, dusty, or outdoor conditions, installers should understand what the IP code indicates about protection against solids and water. IP65 silicone-coated strips need compatible sealant, while some IP67 tube-style products may require factory-installed or correctly resealed end caps. Poor sealing can lead to corrosion, flicker, or electrical leakage.
In our lab tests using integrating spheres, we also check color output before and after soldering samples from production batches. Excess heat during soldering can damage nearby LEDs, so keep contact time short and use the right iron temperature.
| Connection Method | Best Use | Strength | Field Risk |
|---|---|---|---|
| Soldered wire | Long-term commercial runs | High | Needs trained worker |
| Clip connector | Fast cabinet assembly | Medium | Poor contact if mismatched |
| Pre-soldered lead | Repeat OEM projects | High | Must define exit direction early |
| Terminal block | Driver cabinet wiring | High | Needs strain relief |
6. How Do You Wire Drivers, Dimmers, and Controls Correctly?
Wiring mistakes can damage LEDs, drivers, dimmers, and control modules. Start by matching the driver output voltage to the LED strip voltage. A 24V strip needs a 24V constant-voltage driver. For commercial installations, following professional LED strip wiring practices helps prevent reversed polarity, overloaded cables, poor terminal connections, voltage loss, and damage to drivers or control equipment.
Place the dimmer or controller on the DC side unless the control system is designed for AC-side dimming. For 0-10V, DALI, Triac, PWM, and DMX projects, confirm compatibility before site work begins. Dimming mismatch can cause flicker, buzzing, or unstable low-level output.
Use ferrules for stranded wires, label circuits, and add strain relief. Contractors should also follow appropriate electrical safety procedures when working around drivers, AC inputs, energized terminals, wiring enclosures, and associated control equipment. Keep low-voltage LED wiring separated from high-voltage AC wiring where required, both to reduce interference and to make inspection and maintenance safer.
| Control Type | Common Use | Driver Requirement | Typical Issue |
|---|---|---|---|
| On/off | Simple shelves | Standard CV driver | Switch rating too low |
| PWM dimming | Display lighting | PWM-compatible driver/control | Visible flicker if low frequency |
| 0-10V | Commercial rooms | 0-10V driver | Wrong control wiring |
| DALI | Building systems | DALI driver | Addressing errors |
| DMX | Dynamic signage | DMX decoder and CV driver | Data wiring faults |
7. How Do You Install V-Shape LEDs Step by Step on Site?
A clear work sequence prevents rework. Before drilling, sticking, or cutting components, review the correct method to install an LED profile and dry-fit the V-shaped channel in its final position. Check alignment, cable exits, diffuser clearance, end-cap spacing, and access to the driver. Dry-fit the V profile before sticking or screwing anything. Check cable exits, diffuser clearance, end cap spacing, and driver access. Then power a short test section to confirm color temperature and brightness.
After that, mount the V profile. If you use adhesive, press evenly along the full length for better bond. If you use screws or clips, keep spacing consistent, often around 300 6500 mm depending on profile size and surface. Do not bend the strip beyond its allowed radius. Sharp bends can crack copper tracks.
Install the LED strip into the V channel with firm, even pressure. Avoid pressing directly on LED chips. Connect wires, check polarity, then power the circuit briefly. If it works, install diffuser covers and end caps. Run a longer burn test before handover.
We often see installers struggle with access after the diffuser is installed. So, leave service points where drivers or controllers can be reached without damaging furniture, ceiling panels, or signs.
| Step | Field Action | Check Before Moving On | Typical Time Saver |
|---|---|---|---|
| 1 | Dry-fit profile | Alignment and cable exit | Avoids re-drilling |
| 2 | Clean surface | No dust or oil | Better adhesion |
| 3 | Mount profile | Straight line and support | Cleaner finish |
| 4 | Place strip | No twist or sharp bend | Fewer dead segments |
| 5 | Wire and test | Polarity and voltage | Faster fault finding |
| 6 | Fit diffuser | No trapped wire | Better appearance |
| 7 | Burn test | Heat and dimming behavior | Fewer callbacks |
The following independent installation video shows how planning, mounting method, wiring quality, power selection, and aluminum channels can affect the final result of an LED-strip project.
8. How Do You Manage Heat, Diffusers, and Light Uniformity?
Heat control protects LED life. A V-Shape LED profile is not only a mounting channel. It is also a heat sink. If the profile is thin, blocked, or installed inside a sealed cavity, temperature rises. When profiles or drivers become unusually hot, use a structured LED strip overheating troubleshooting process to check power loading, aluminum contact, airflow, driver capacity, strip wattage, and installation inside sealed cavities.
Diffusers also affect performance. A milky diffuser gives smoother light but reduces output. A clear diffuser keeps more brightness but may show LED dots. For premium display shelves, COB strips or high-density SMD strips can reduce dotting under shallow diffusers.
In our thermal imaging checks, a strip mounted on bare aluminum often runs much cooler than the same strip attached to plastic or wood. That difference matters for warranty risk and lifetime cost.
| Design Choice | Visual Result | Efficiency Impact | Best Application |
|---|---|---|---|
| Clear diffuser | Brighter, more visible points | Low loss | Hidden coves |
| Milky diffuser | Smooth line | Medium loss | Display shelves |
| COB strip | Very smooth | Depends on model | Premium cabinets |
| High-density SMD | Smooth with enough depth | Medium to high | Retail fixtures |
| Deeper V profile | Better mixing | Size tradeoff | Architectural runs |
9. How Do You Test V-Shape LEDs Before Handover?
Testing is not optional if you care about reputation. Check voltage at the driver output and at the far end of each run. A visible brightness drop often starts when voltage falls too much under load. Measure while the LEDs are on, not while idle.
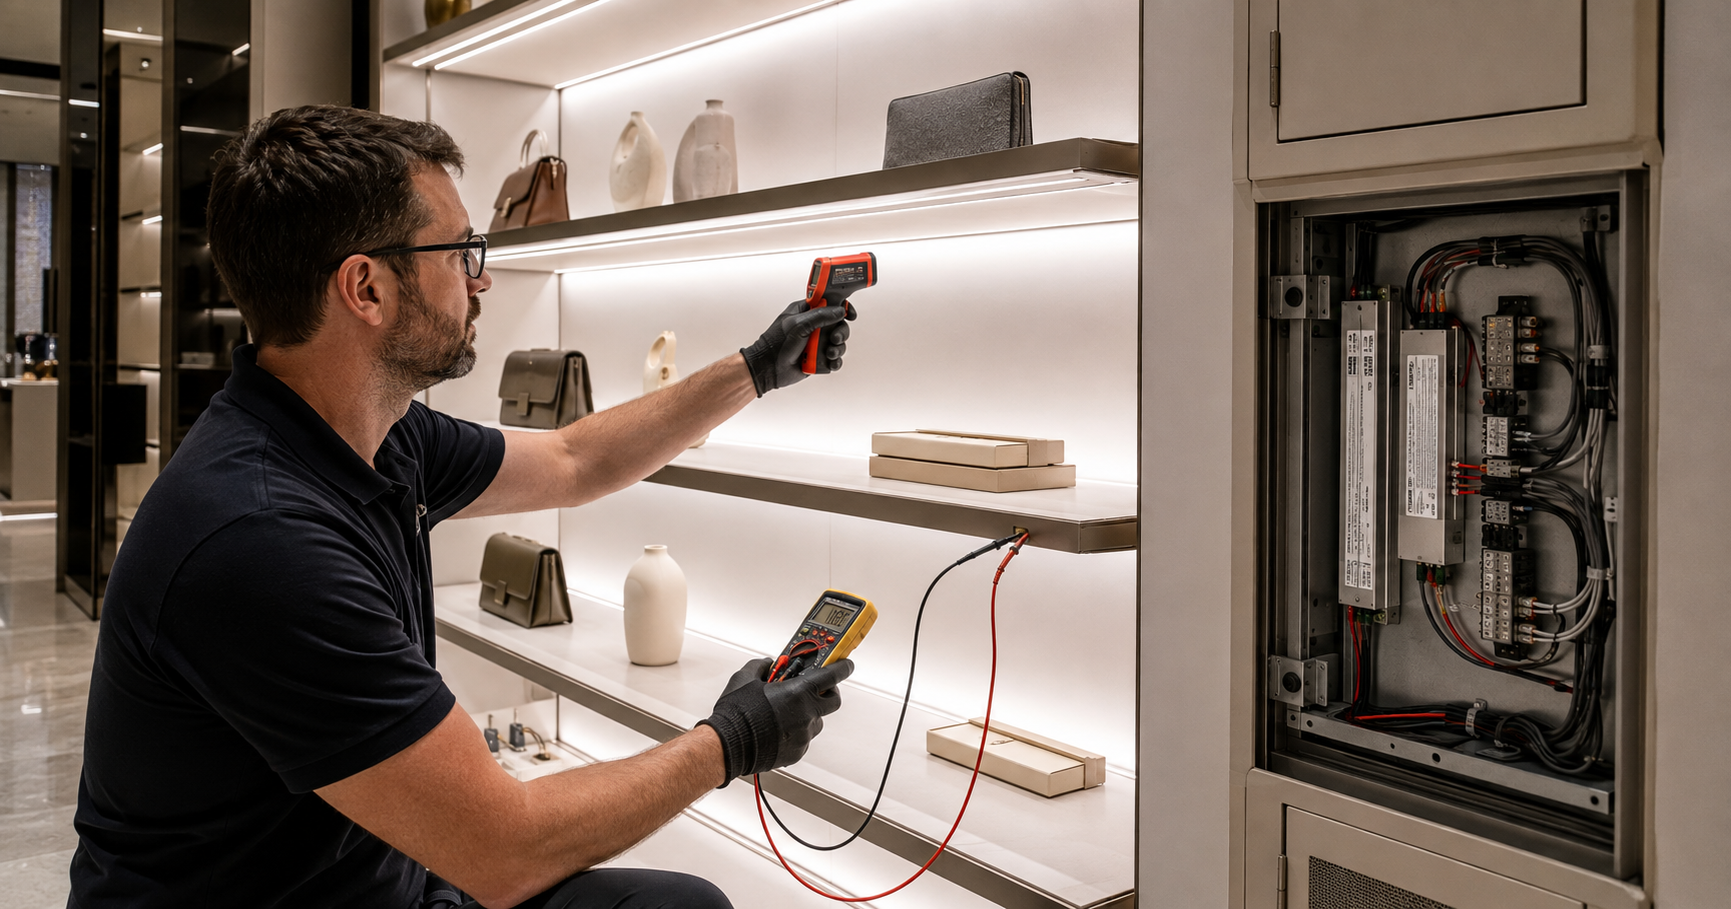
Then inspect color consistency. On site, you can compare all runs visually on a white surface before fixing diffusers permanently. Run the lights at full brightness for at least 30 60 minutes. Touch-test carefully around profiles and drivers, or use an infrared thermometer. Check dimming range, flicker on phone camera video, control response, and noise.
A field example: a contractor found no issue during a five-minute test, but after one hour the driver cabinet overheated because ventilation was blocked. A longer burn test would have caught that before client handover.
| Test Item | How to Check | Acceptable Result | If It Fails |
|---|---|---|---|
| Polarity | Multimeter and visual marks | Correct positive/negative | Rewire before power cycle |
| Voltage drop | Measure far end under load | Within project tolerance | Add feed or larger cable |
| Color match | Compare adjacent runs | No visible mismatch | Separate batches or replace |
| Heat | IR thermometer | Stable safe temperature | Improve heat path/venting |
| Dimming | Full range test | No flicker or buzz | Match driver and dimmer |
10. How Do You Troubleshoot Common V-Shape LED Problems?
Troubleshooting should be systematic. Do not replace random parts. Start from the power source, then driver output, controller, connectors, strip input, and strip segments. Most problems are caused by polarity, voltage drop, loose joints, dimmer mismatch, heat, or water ingress.
If one full run is dead, check AC input and DC output. If only one section is dead, inspect the nearest cut point or solder joint. If the far end is dim, measure voltage at both ends. If the strip flickers, test the driver with a stable load and confirm dimmer compatibility.
For outdoor facade lighting, sealing deserves special attention. Water can travel inside a tube strip and create corrosion far from the entry point. For refrigerated displays, condensation can attack exposed copper pads. For mobile displays, vibration can loosen clip connectors.
The best fix is prevention: correct driver sizing, good cable routing, proper sealing, heat control, and documented test results. Those records protect your team if a client questions performance later.
| Symptom | Likely Cause | Quick Test | Practical Fix |
|---|---|---|---|
| No light | No power or reversed polarity | Measure DC output | Correct wiring or driver |
| Dim far end | Voltage drop | Measure far-end voltage | Feed both ends or use thicker cable |
| Flicker | Driver/dimmer mismatch | Bypass dimmer briefly | Use compatible control gear |
| One segment dead | Bad cut or solder joint | Inspect copper pads | Re-solder or replace segment |
| Strip falls | Poor surface prep | Check adhesive and base | Clean surface, add clips |
| Early yellowing | Heat buildup | Check profile temperature | Use better aluminum path |
| Water damage | Poor sealing | Inspect end caps | Reseal or replace IP-rated part |
Conclusion
To install V-Shape LEDs easily, treat the job as a controlled process: plan the run, size power correctly, prepare the surface, manage heat, wire with care, and test under load. The V-shaped format can reduce shadows and speed up assembly, but only when the details are right. If you are unsure about voltage drop, driver selection, or profile choice for a project, send our engineering team your drawing. We’ll review the details manually and give practical feedback.
FAQ
Q1: What is a V-Shape LED?
A V-Shape LED is an LED strip or module installed in a V-shaped profile, usually with light emitted from two angled sides. It is used for shelves, coves, signs, furniture, and display fixtures that need wider light spread from a corner or narrow space.
Q2: Can I install V-Shape LEDs without soldering?
Yes, if you use compatible clip connectors or factory pre-soldered leads. For long-term commercial projects, soldered or factory-made connections are usually more stable, especially where vibration, high current, or maintenance access may be an issue.
Q3: Is 12V or 24V better for V-Shape LED installation?
24V is usually better for longer runs because it carries lower current at the same wattage, which helps reduce voltage drop. 12V can work well for short cabinet sections, sample displays, and small signs.
Q4: Why does one end of my V-Shape LED strip look dimmer?
The usual cause is voltage drop from long cable length, high current, or feeding power from only one end. Measure voltage at the far end while the strip is on. Use a larger cable, shorter run, or dual-end power feed if needed.
Q5: Do V-Shape LEDs need aluminum profiles?
Yes, in most professional projects they should use aluminum profiles. The profile gives a clean mounting angle, protects the strip, and moves heat away from the LEDs. Better heat control supports longer lifetime and reduces service calls.
