
1. What Are LED Strip Lights for Wall Niche Projects?
Wall niche lighting commonly uses a recessed LED profile inside the opening, positioned behind a lip, diffuser, or shelf so the light source remains concealed. The goal may be soft background glow, product display, hotel corridor guidance, bathroom accent lighting, or decorative lighting in a living room. The strip is rarely visible directly; the light effect is what matters.
Niche geometry controls the final result. A 50 mm deep niche with a hidden strip behaves differently from a 120 mm deep display recess with stone backing. A narrow niche can show LED dots if the strip sits too close to the diffuser. A deep niche may need higher lumen output to avoid a weak effect.
Common site issues:
- ● No space for a rigid connector after the profile is fixed
- ● Driver placed too far away, causing voltage drop
- ● Warm white strips from two batches looking different in one room
| Wall Niche Use Case | Recommended Lighting Effect | Typical Risk If Spec Is Wrong |
|---|---|---|
| Hotel headboard niche | Warm, soft, continuous line | Glare near guest eye level |
| Retail display niche | High CRI, clean object color | Product color distortion |
| Bathroom wall niche | Moisture-safe, low heat | Water ingress and early failure |
| Office feature wall | Neutral white, dimmable | Flicker during video meetings |
| Residential living wall | Smooth ambience | Dots and uneven corners |
Good niche lighting depends on matching the strip to the space, not buying the brightest roll on the shelf. The following educational video provides a practical overview of the main factors to consider when selecting LED strip lighting for architectural applications such as recessed wall niches.
2. How Do You Choose the Right Voltage for a Wall Niche?
Most wall niche LED strips use 12V, 24V, or 48V DC. For short decorative niches, 12V can work. For longer runs, 24V is usually better because it reduces current and voltage drop. For long architectural lines, 48V can be useful, but driver availability and local rules must be checked.
Lower current helps reduce voltage drop across copper traces and feed wires, although cable size, connection resistance, run length, and feed location still affect the final result. However, higher voltage does not fix poor wiring—thin cable, weak solder joints, or long single-end feeds still cause fading.
| Parameter | 12V Strip | 24V Strip | 48V Strip |
|---|---|---|---|
| Best run length | Short niches | Medium to long niches | Long architectural runs |
| Voltage drop risk | Higher | Lower | Lowest |
| Cut length | Shorter cut intervals | Medium cut intervals | Longer cut intervals |
| Driver availability | Very high | Very high | Medium |
| Installer familiarity | High | High | Lower |
| Typical use | Small shelves, cabinets | Wall niches, coves, displays | Long hotel or mall lines |
For most commercial wall niche projects, 24V is a sensible default. If the niche is under 1 meter and needs tight cutting, 12V may still be practical.
3. Which LED Strip Type Works Best: SMD, COB, or High-Density?
The strip package affects light smoothness, brightness, dot visibility, and cost. SMD strips are common and economical. Understanding what a COB LED strip is helps explain why COB strips create a more continuous line, with densely packed chips covered by a phosphor coating. High-density SMD strips can also produce smooth illumination when installed inside a deep LED channel with enough diffuser distance and an opal cover.
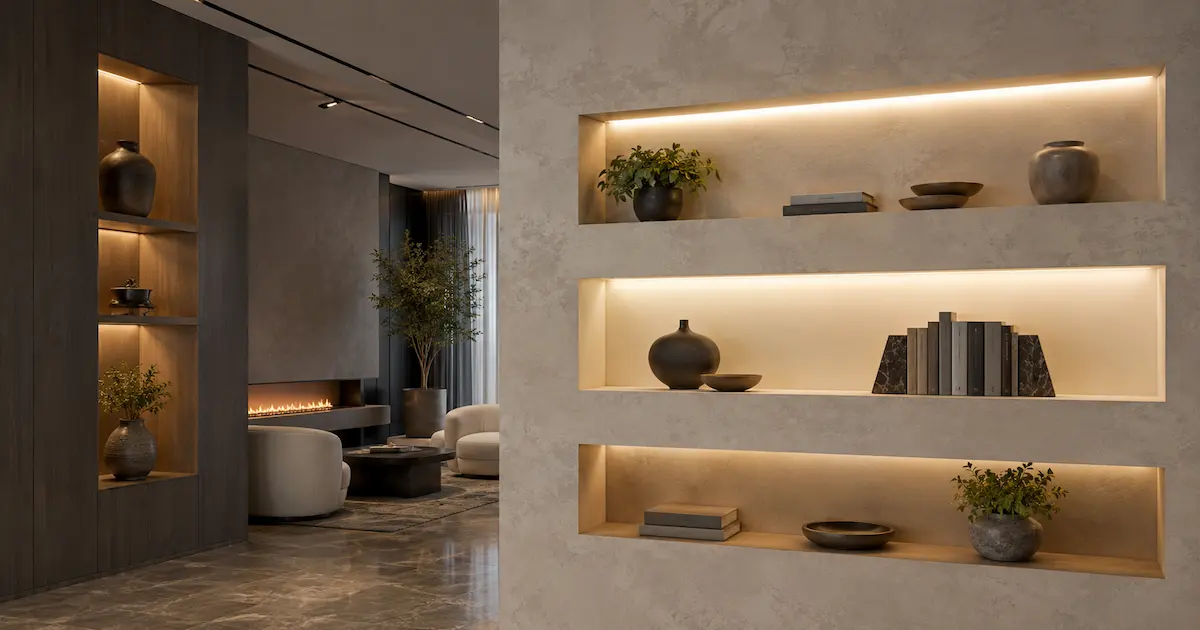
Lumen efficiency, LED density, diffuser loss, profile depth, and wall surface reflectance decide the final visible effect. Diffuser loss can reach 20%–40% depending on material and thickness.
| Strip Type | Visual Result | Best For | Watch Out For |
|---|---|---|---|
| SMD 2835 | Bright, cost-efficient | Standard wall niches | Dots if LED pitch is wide |
| SMD 2216 | Smooth, compact | Shallow niches | Lower power options |
| COB | Very smooth line | Premium interiors | Heat and bending radius |
| RGB/RGBW | Color scenes | Bars, retail, hospitality | Control wiring complexity |
| Tunable white | Adjustable CCT | Hotels, offices, wellness | Controller and driver matching |
Pro Tip: For niche lighting seen at close distance, check LED pitch and diffuser distance before approving samples. The eye will catch dots immediately on glossy stone or lacquered panels.
4. What Color Temperature and CRI Should You Specify?
Color temperature sets the mood. The U.S. Department of Energy’s guide to LED basics provides additional information about LED color quality, efficiency, performance, and color-rendering measurements. A warm 2700K strip can make a hotel room feel relaxed. A 4000K strip suits retail, offices, and galleries where clarity matters.
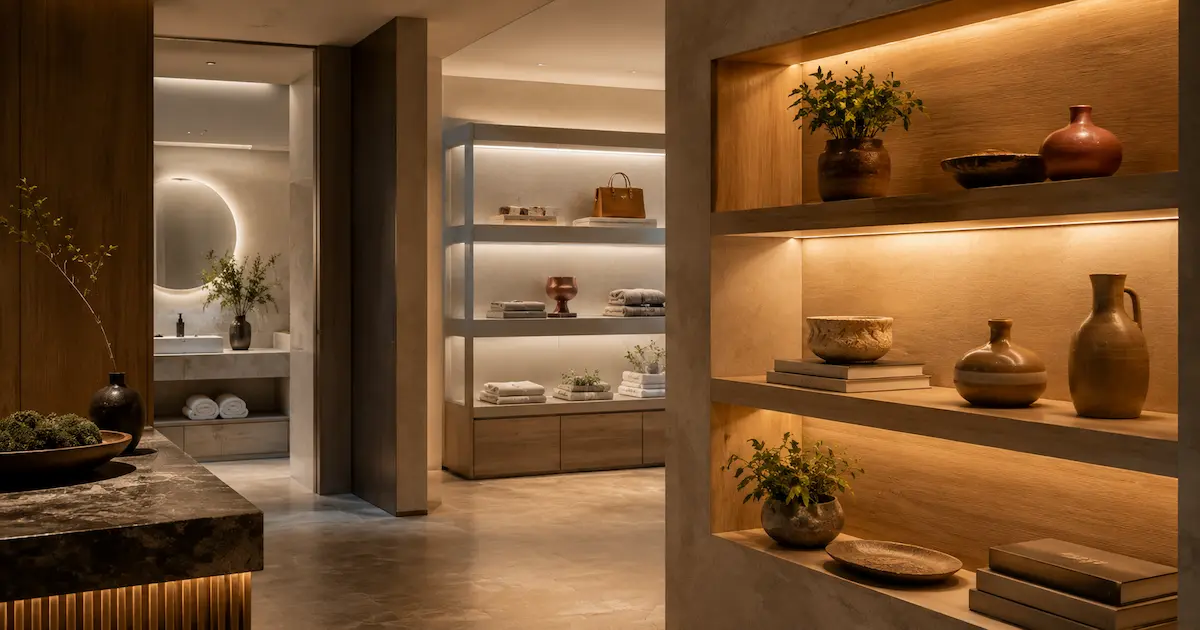
For commercial work, color consistency across batches is as critical as the CCT number. Recommended specs:
- CRI 90+ for retail display, artwork, high-end residential, and hospitality
- 3-step or 5-step MacAdam binning for visible continuous wall areas
- 2700K–3000K for warm ambience; 3500K–4000K for neutral interiors
- Tunable white where day/evening scenes are required
| Application | CCT Range | CRI Target | Reason |
|---|---|---|---|
| Hotel guest room niche | 2700K–3000K | 90+ | Warm comfort and premium feel |
| Retail product niche | 3500K–4000K | 90+ or 95+ | Accurate product color |
| Bathroom niche | 3000K–4000K | 90+ | Clean look without cold tone |
| Restaurant wall niche | 2200K–2700K | 90+ | Softer dining atmosphere |
| Office feature wall | 3500K–4000K | 80+ or 90+ | Balanced visual comfort |
If your project uses natural stone, wood veneer, or metallic finishes, request a small sample test on the actual surface; reflections change apparent color.
5. How Much Brightness and Wattage Do Wall Niches Need?
Brightness depends on niche purpose. Accent lighting may need 4.8–9.6 W/m. Display lighting may require 12–18 W/m or more. A dark matte surface absorbs more light than a white plaster niche, so consider delivered lumen after diffuser and distance.
| Lighting Purpose | Typical Wattage | Approx. Delivered Effect | Notes |
|---|---|---|---|
| Soft ambience | 4.8–7.2 W/m | Gentle glow | Best for bedrooms and lounges |
| Standard accent | 9.6–12 W/m | Clear visible line | Common for hotel and home niches |
| Display lighting | 12–18 W/m | Strong object lighting | Use high CRI and heat sinking |
| Wall grazing | 14.4–20 W/m | Strong texture | Needs uniform mounting distance |
| RGB mood light | 7.2–14.4 W/m | Scene color | RGBW gives better white light |
A retail example: switching to CRI 95, deeper profile, and better aiming fixed product appearance more than simply increasing wattage.
6. Why Are Aluminum Profiles and Diffusers Needed?
Understanding why LED strips need aluminium profiles is important because profiles move heat away from the strip, keep it straight, protect it from impact, and create a smoother light line through proper diffuser spacing. In a recessed wall niche, airflow is limited; without proper heat transfer, lumen depreciation and adhesive failure accelerate.
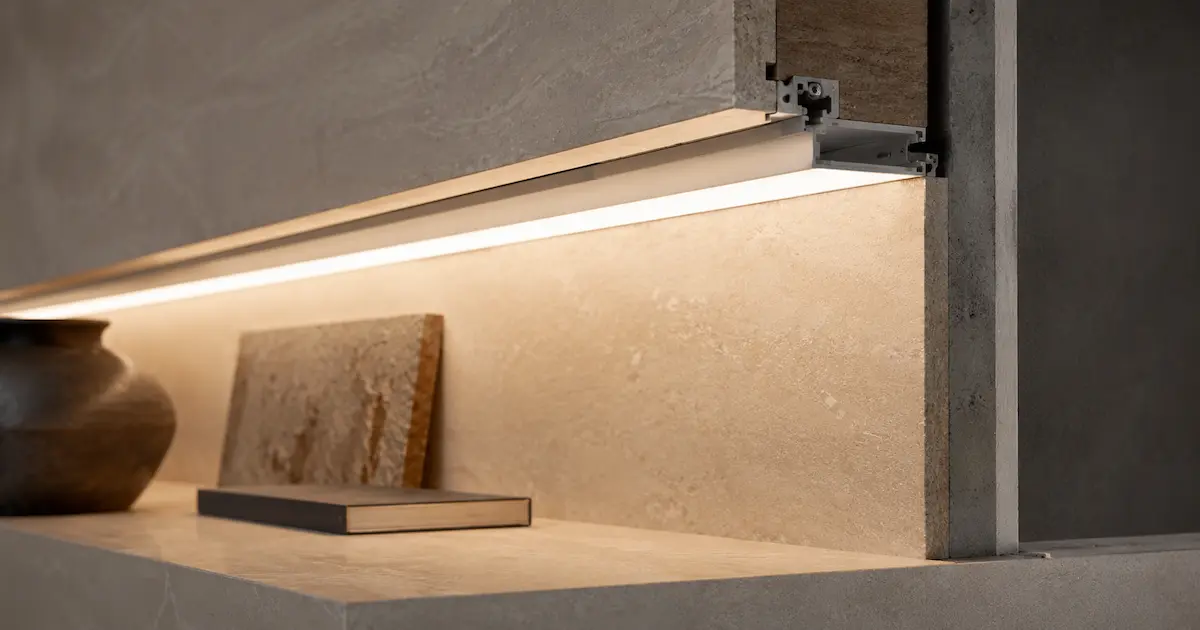
Diffuser options:
- Clear cover: highest output, more visible dots
- Frosted cover: balanced output and softness
- Opal cover: smoothest line, higher light loss
For premium wall niches viewed from a short distance, a spotless LED diffuser can help minimize visible LED points and produce a cleaner continuous light line.
| Profile Factor | Why It Matters | Practical Recommendation |
|---|---|---|
| Profile depth | Controls dot visibility | Use deeper profile for SMD strips |
| Aluminum mass | Supports heat transfer | Higher wattage needs larger profile |
| Cover material | Affects light loss and aging | Use UV-stable PC or PMMA cover |
| Mounting method | Affects straightness | Use clips or screw fixing on site |
| Service access | Reduces future labor | Avoid sealing strips permanently |
Adhesive alone is not a long-term mounting method for many wall niches—mechanical fixing improves reliability.
7. How Should Drivers, Dimming, and Controls Be Planned?
A proper LED profile driver calculation should match the driver to the strip voltage and total load while maintaining a 15%–25% power reserve. Dimming protocols require compatibility testing: Triac can work in homes, 0–10V suits many commercial projects, DALI lighting control supports addressable and scalable lighting networks, and DMX fits RGB or RGBW scenes.
| Control Method | Best Application | Strength | Risk |
|---|---|---|---|
| Non-dim driver | Simple accent niche | Low cost, stable | No scene control |
| Triac dimming | Homes, hotels | Works with wall dimmers | Compatibility varies |
| 0/1-10V | Offices, commercial areas | Smooth control | Needs control wiring |
| DALI | Hotels, large buildings | Addressable control | Commissioning skill needed |
| DMX | RGB/RGBW scenes | Precise color control | More wiring and devices |
Place drivers where technicians can access them. Sealing a driver inside a finished wall may save time initially but creates costly repair work later.
8. What Wiring Layout Prevents Voltage Drop and Dark Ends?
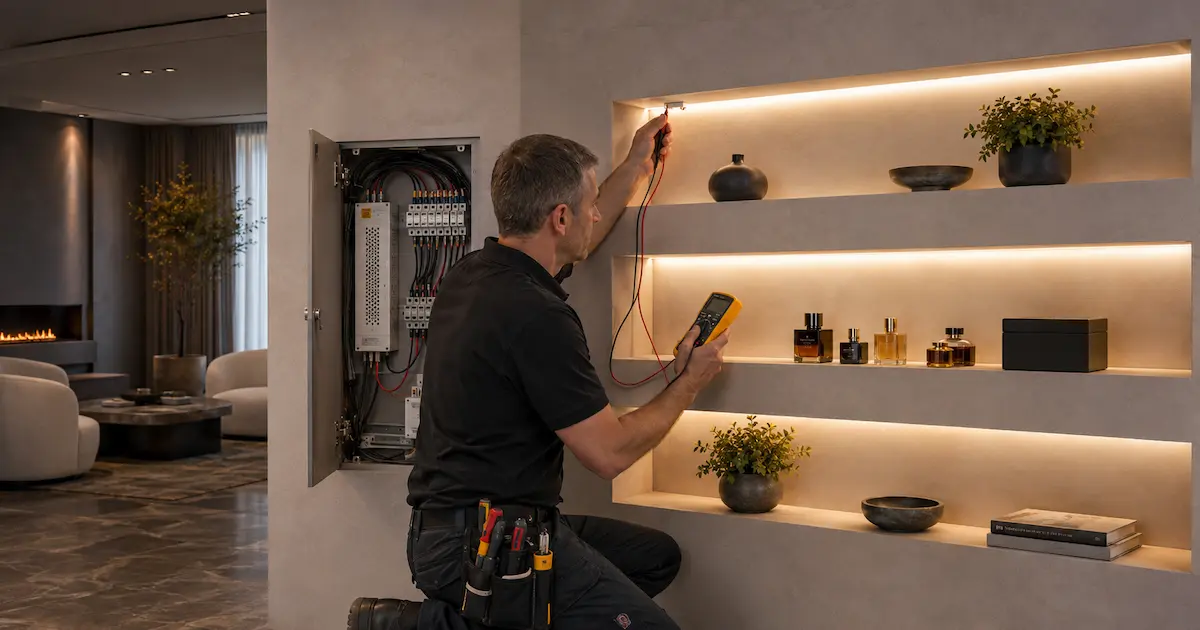
Voltage drop causes dim far ends, color shift, and uneven brightness. Following a professional LED strip light wiring plan helps contractors calculate the load, cable length, cable size, and feed points during shop drawing review. Safe wiring methods include dual-end feed for medium runs, center feed for symmetry, and parallel feeds for stacked niches.
| Failure Symptom | Likely Cause | Quick Fix | Better Design Choice |
|---|---|---|---|
| Dark strip end | Voltage drop | Add far-end feed | Use 24V and thicker cable |
| Color shift on RGB | Unequal channel drop | Shorten run | Use amplifiers per section |
| Flicker at low dim | Driver mismatch | Test dimmer pair | Specify tested driver list |
| Hot profile | Overloaded strip | Lower wattage | Larger aluminum profile |
| Strip falls off | Weak surface bond | Add clips | Use mechanical profile |
A 15-minute calculation can prevent expensive site revisits after walls are finished.
9. What IP Rating and Protection Level Do You Need?
Dry indoor niches usually use IP20 strips inside aluminum profiles. Bathrooms, spas, kitchens, and exterior recessed walls may require a waterproof LED profile combined with an appropriately rated strip, sealed end caps, and protected cable exits. The International Electrotechnical Commission’s guide to IP ratings explains how enclosure protection is classified against the ingress of solid objects, dust, and liquids.
| IP Rating | Protection Level | Suitable Wall Niche Location | Notes |
|---|---|---|---|
| IP20 | Touch protection only | Dry indoor living rooms, offices | Best heat dissipation |
| IP54 | Dust and splash resistance | Light kitchen or semi-protected areas | Check profile fit |
| IP65 | Silicone coating or sleeve | Bathrooms outside direct water spray | More heat retention |
| IP67 | Temporary immersion protection | Outdoor recessed features | Needs sealed end caps |
| IP68 | Continuous immersion | Special wet applications | Rare for wall niches |
For tiled bathroom niches, plan driver location and service access before tiling.
10. How Do You Specify, Test, and Install LED Strip Lights for Wall Niche Projects?
A clear specification should include voltage, wattage, CCT, CRI, binning, PCB width, IP rating, profile model, cover type, driver type, dimming protocol, wiring method, cable size, and test standard. A checklist catches most failures before handover.
| Step | Site Action | Acceptance Check |
|---|---|---|
| 1 | Confirm niche depth and width | Profile and strip fit without forcing |
| 2 | Test sample on actual surface | CCT and brightness approved |
| 3 | Calculate total load | Driver has 15%–25% reserve |
| 4 | Plan feed points | No visible dark ends |
| 5 | Mount aluminum profile | Straight line, firm fixing |
| 6 | Connect and insulate joints | No loose solder or exposed copper |
| 7 | Run aging test before closing wall | 2–4 hours minimum on site |
| 8 | Test dimming range | No flicker or driver noise |
| 9 | Record driver location | Future service access is clear |
| 10 | Take handover photos | Reduces later disputes |
For batch supply, request production photos, aging test reports, and photometric data. That level of data matters because one rejected hotel floor can consume the profit of the entire lighting package.
Conclusion
Specify the full system—voltage, LED type, profile, diffuser, driver, dimming method, IP rating, wiring layout, and testing—rather than choosing tape by price alone. Confirm samples in the actual niche, include driver headroom, and plan feed points to avoid voltage drop. If you need help, send your drawings for a manual review.
FAQ
Q1: What are led strip lights for wall niche applications?
They are flexible linear LED products installed inside recessed wall spaces to create accent, display, or indirect lighting, usually paired with profiles, diffusers, low-voltage drivers, and dimming controls.
Q2: Is 12V or 24V better for a wall niche?
For most wall niche projects, 24V is better because it reduces current and voltage drop on medium-length runs. Use 12V for very short niches that need tight cut intervals.
Q3: Do I need an aluminum profile for niche lighting?
Yes—profiles improve heat transfer, keep the strip straight, protect the PCB, and help create a smoother light line with a diffuser.
Q4: What color temperature is best for wall niches?
2700K–3000K works well for warm hospitality and residential spaces; 3500K–4000K suits offices, retail, bathrooms, and display niches where clearer visibility is required.
Q5: How can I stop LED strip lights from showing dark ends?
Use the right voltage, thicker cable, shorter run sections, dual-end feed, or center feed. Calculate load and cable length before installation, and test the full run before closing the wall.
