
LED tape channels for outdoor sculpture lighting are aluminum, silicone, stainless, or recessed mounting systems that protect LED strips, manage heat, shape light output, and make installation cleaner. The best options include deep aluminum channels with diffusers, bendable silicone neon channels, recessed floor channels, grazing channels, and marine-grade stainless mounting profiles.
1. Which LED tape channels work best for outdoor sculptures?
The best channel depends on whether the project needs a soft line, grazing effect, hidden glow, or the stronger protection associated with outdoor heavy-duty LED strip lighting systems. Top choices include a deep LED channel with an opal diffuser for straight plinths, bendable silicone profiles for curves, recessed linear channels for paved areas, and stainless fixing channels for harsh outdoor sites.
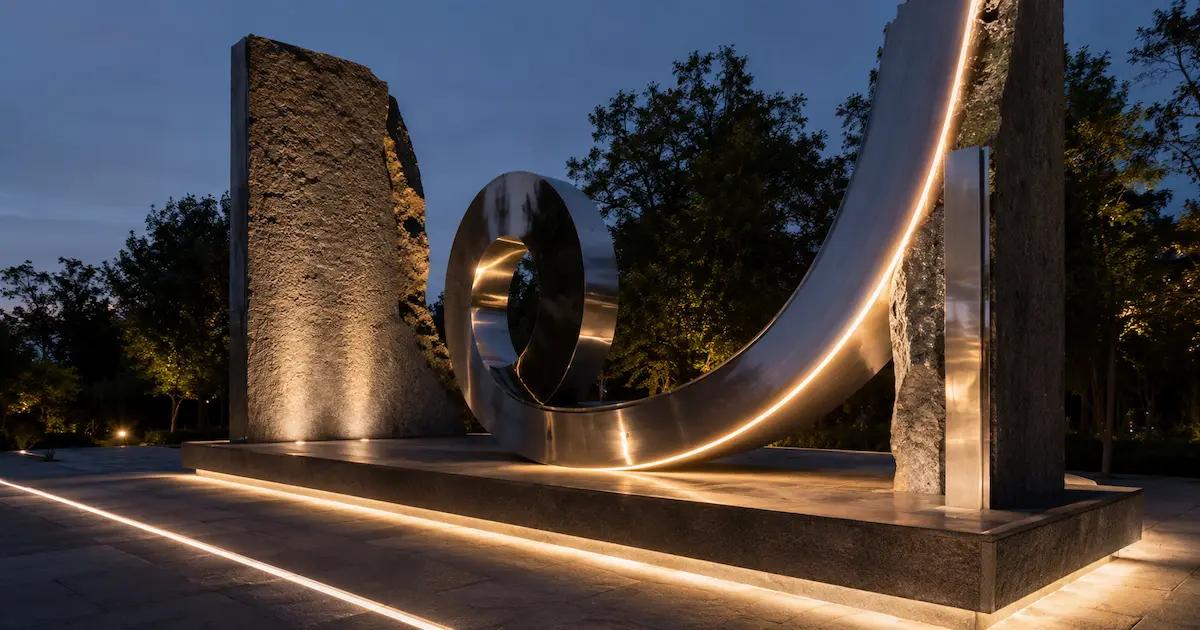
Sculpture lighting often has more movement and irregular geometry than façade lighting. A straight profile may look clean on paper but fail on a curved bronze figure or uneven stone.
| Channel type | Best use case | Main strength | Watch point |
|---|---|---|---|
| Deep aluminum channel | Straight edges, plinths, frames | Better diffusion and heat control | Needs drainage planning |
| Bendable silicone neon channel | Curves, organic shapes | Seamless lit line | Lower heat transfer than aluminum |
| Recessed floor channel | Walkways around sculpture | Impact resistance and clean finish | Must avoid standing water |
| Grazing channel | Stone, concrete, textured metal | Strong shadow detail | Beam angle must be tested onsite |
| Stainless mounting channel | Coastal or vandal-prone sites | Corrosion and mechanical strength | Higher cost and harder cutting |
Small prototyping and trial bends will reveal fit issues early. Also specify tolerances for cut lengths and end-cap fits to ensure the supplier’s parts integrate with mounting details on site.
2. How do aluminum channels affect heat, lifetime, and light quality?
Aluminum channels act as an LED heat sink by transferring heat away from the PCB and helping keep LED junction temperature under control. Every extra degree accelerates lumen decay, adhesive failure, and color drift, increasing warranty risk.
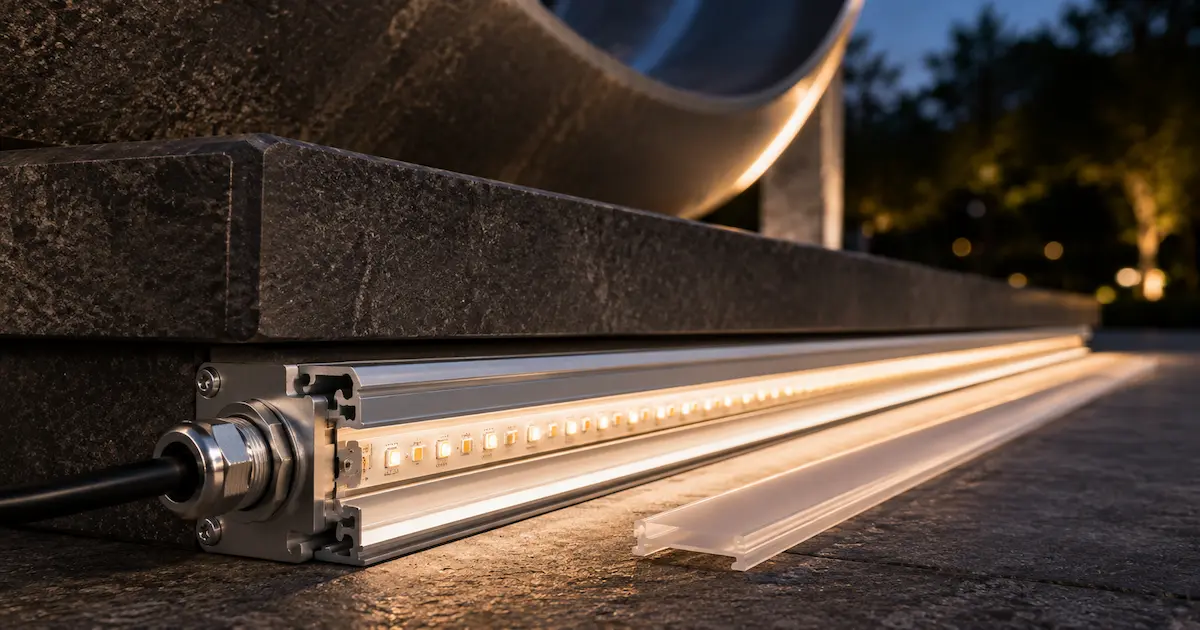
A 14.4 W/m strip mounted in a proper aluminum profile can run much cooler than the same strip stuck directly onto painted steel or stone. Brightness depends on lumen efficiency, channel diffusion, thermal transfer, optics, and surface reflectance—so a well-designed 10 W/m system can outperform an overheated 19.2 W/m run.
| Material | Thermal behavior | Outdoor suitability | Typical use |
|---|---|---|---|
| Anodized aluminum | Strong heat transfer | Good with sealed ends | Base lines, hidden coves |
| Powder-coated aluminum | Good, coating reduces transfer slightly | Good if UV rated | Visible architectural channels |
| Raw aluminum | Good but may oxidize | Needs treatment | Budget internal cavities |
| Stainless steel | Lower heat transfer than aluminum | Very good in coastal sites | Mounting rails, guards |
Pro Tip: “If the LED tape is above 12 W/m, treat the channel as part of the thermal system.”
For high-wattage installations, understanding which channels provide the best cooling for high-power LED tapes can help buyers select sufficient aluminum mass before requesting a thermal report or heat-run test. Measure junction temperature with a thermocouple during a 24–72 hour burn-in and compare to the LED datasheet. Consider thermal adhesives or increase fin area on profiles for persistent high-power applications.
3. Are silicone neon channels better for curved sculpture lines?
Understanding how to choose flexible LED profiles for outdoor curves helps designers create smooth, continuous, dot-free lines around arches, rings, waves, and irregular sculpture forms. But silicone does not dissipate heat like aluminum, so PCB design, power density, and end-cap sealing must be controlled. For long curved runs, specify a compatible silicone LED profile with 24V or 48V operation, controlled watt density, factory-made end caps, and documented bend-radius limits.
| Silicone type | Bend direction | Best sculpture shape | Risk to check |
|---|---|---|---|
| Top-bend neon | Vertical curves | Arches, waves, letters | Minimum bend radius |
| Side-bend neon | Horizontal curves | Rings, outlines | Uneven brightness if twisted |
| 3D flexible neon | Complex curves | Free-form artwork | Higher cost, tight planning |
| Mini neon | Fine detail | Small sculptures, signage | Lower brightness |
Always request a sample bend test before production.
Silicone also has UV and aging considerations: specify UV-stable grades and check durometer and flame rating for public installations. Over time silicone can yellow or harden in harsh sunlight; periodic inspection intervals should be part of the maintenance plan.
4. What IP rating should channels have for rain, snow, and washdown?
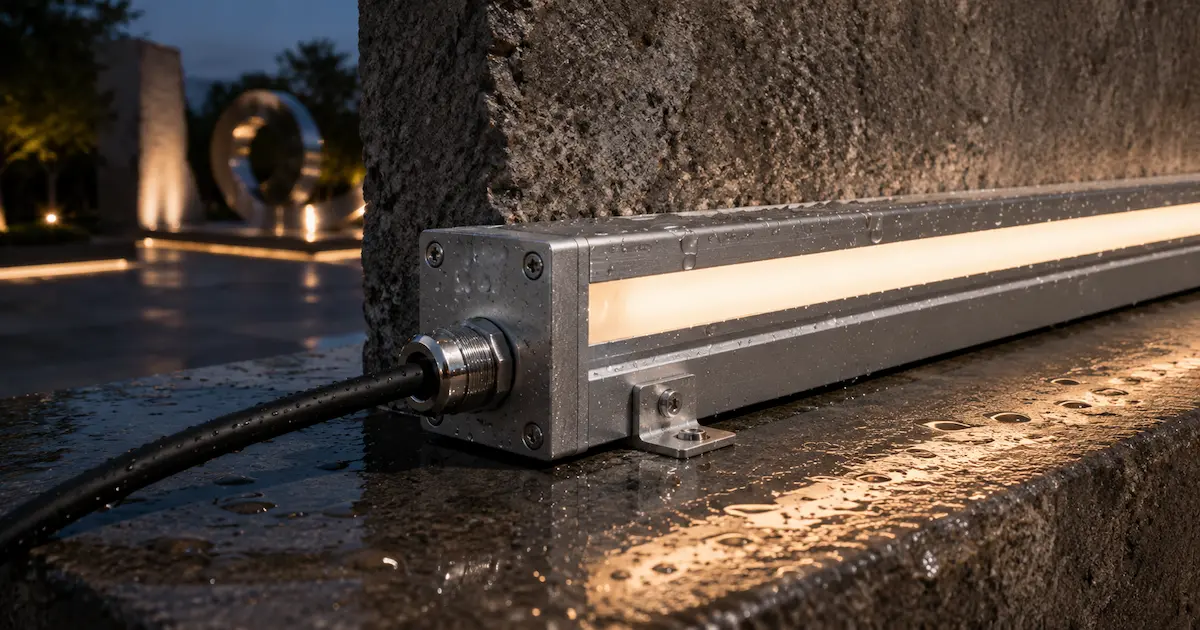
Choose the correct ingress protection IP rating according to the installation’s exposure to dust, rain, water jets, temporary immersion, and other site conditions. IP65 handles dust and water jets; IP67 temporary immersion; IP68 longer immersion. A professional specification for waterproof LED channels in exposed installations must protect cut ends, connectors, screw holes, cable entries, and driver enclosures rather than relying only on the LED tape body. Plan seals, glands, and drainage accordingly.
| Rating | Protection level | Suitable locations | Field warning |
|---|---|---|---|
| IP65 | Dust tight, water jet resistant | Covered outdoor sculptures | Not for puddles |
| IP67 | Dust tight, temporary immersion | Exposed bases, splash zones | Seal cuts carefully |
| IP68 | Long immersion per spec | Fountains, water features | Confirm chemistry and depth |
| IK08-IK10 cover | Impact resistance | Walkable plazas | Check cover glare and slip risk |
A properly selected waterproof LED profile should combine the required IP level with mechanical sealing, stainless fasteners, protected cable entries, and a reliable drainage route.
In practice, use silicone or rubber gaskets at end caps, IP-rated cable glands for exits, and consider potting compounds or hydrophobic gels at vulnerable join points. For drivers, prefer remote, weatherproof enclosures and locate serviceable items above likely water levels.
5. How should beam angle and diffuser type be selected?
Beam angle and the selected LED channel diffuser define the sculpture’s perceived brightness, visual softness, LED-dot visibility, glare, and shadow detail. Narrow grazing emphasizes texture; opal diffusers soften edges. Clear covers maximize output but reveal dots; opal hides dots but reduces lumens. Account for 15%–35% light loss through opal diffusers in lumen planning.
| Optical choice | Light effect | Light loss range | Best location |
|---|---|---|---|
| Clear cover | High output, visible dots | 5%–12% | Hidden channels, grazing |
| Frosted cover | Balanced output | 12%–22% | Mid-distance viewing |
| Opal cover | Dot-free soft line | 20%–35% | Close viewing, luxury spaces |
| Asymmetric lens | Directed wash | 10%–25% | One-sided faces |
| Narrow lens | Strong grazing | 8%–18% | Carved stone, concrete |
Place grazing channels 50–150 mm from textured surfaces for depth; use warm CCT (2700K–3000K) for bronze.
When planning, simulate with lux levels at the intended viewing distance and remember that CRI matters for color fidelity—use CRI 90+ for artworks with subtle patinas. Consider visual comfort for visitors by reducing discomfort glare in outdoor environments and controlling specular reflections on polished metal through careful aiming, shielding, diffuser selection, and beam-angle planning.
6. Which voltage and power setup reduces voltage drop on long outdoor runs?
Voltage drop causes uneven lighting. For large sculptures, 24V is the practical baseline; 48V reduces current for very long outlines. Use parallel feeds, thicker cable, and center feeding for rings or loops. Keep drivers serviceable—hidden sealed drivers complicate repairs.
| System | Best run length | Pros | Cons |
|---|---|---|---|
| 12V | Short details (<5 m) | Wide accessory range | High voltage drop |
| 24V | Medium runs (5–15 m) | Good balance, driver range | Needs feed planning |
| 48V | Long outlines (>15 m) | Low cable loss | Requires safety review |
Plan feed points and cable size during design to avoid brightness variance.
A practical guideline is to design for no more than 10% voltage drop from driver to far end. Use voltage-drop calculators during specification and select cable gauges accordingly. Outdoor wiring, conductor protection, power supplies, and service access should also follow the applicable requirements of the National Electrical Code and local electrical regulations.
The following independent tutorial demonstrates practical methods for extending, waterproofing, testing, and power-injecting outdoor LED runs to improve connection reliability and maintain consistent brightness.
7. What mounting methods prevent channel movement and water traps?
Adhesive-only fixing is rarely sufficient outdoors. Use mechanical fixing—stainless clips, countersunk screws with sealing washers, flexible brackets for silicone neon—and ensure drainage and strain relief at cable entries.
| Mounting issue | Likely result | Better practice |
|---|---|---|
| No drain path | Water pooling, seal stress | Add weep holes and slope |
| Adhesive-only fixing | Channel detachment | Use clips or screws |
| Mixed metals | Corrosion staining | Use compatible fasteners |
| Tight cable bend | Broken conductors | Add strain relief loop |
| No service access | High labor cost | Plan removable covers |
Use tamper-resistant fasteners in plazas and 316 stainless on coasts.
Also account for thermal expansion and substrate movement: allow sliding points or flexible brackets where temperature swings are large. For heavy or exposed profiles use multiple fixings and consider anti-vandal covers or recessed mounting to reduce leverage on screws.
8. How do control channels handle RGBW, DMX, and dimming?
Dynamic control (RGBW, tunable white, DMX pixels) demands wider channels and more service planning. Wider tape, extra conductors, and heat capacity are required. Plan controllers and data routing so faults can be isolated quickly.
| Control type | Best use | Channel impact | Site concern |
|---|---|---|---|
| Single-color dimming | Static glow | Narrow channels ok | Driver compatibility |
| Tunable white | Day/night shifts | More conductors | CCT calibration |
| RGBW | Color scenes | Wider tape, more heat | Waterproof connectors |
| DMX pixel | Dynamic effects | Data cable route needed | Addressing, signal distance |
| 0–10V/DALI | Building integration | Driver-side layout | Control cabinet access |
Mock-up three scenes (full white, low dim, saturated color) to validate control, heat, and voltage behavior.
For pixel and DMX runs, use shielded data cable, termination resistors, and consider data repeaters for long distances. Provide surge protection and isolation transformers near coastal or lightning-prone sites. Keep data and power trunks separated where possible to avoid interference.
9. What failures should contractors check before handover?
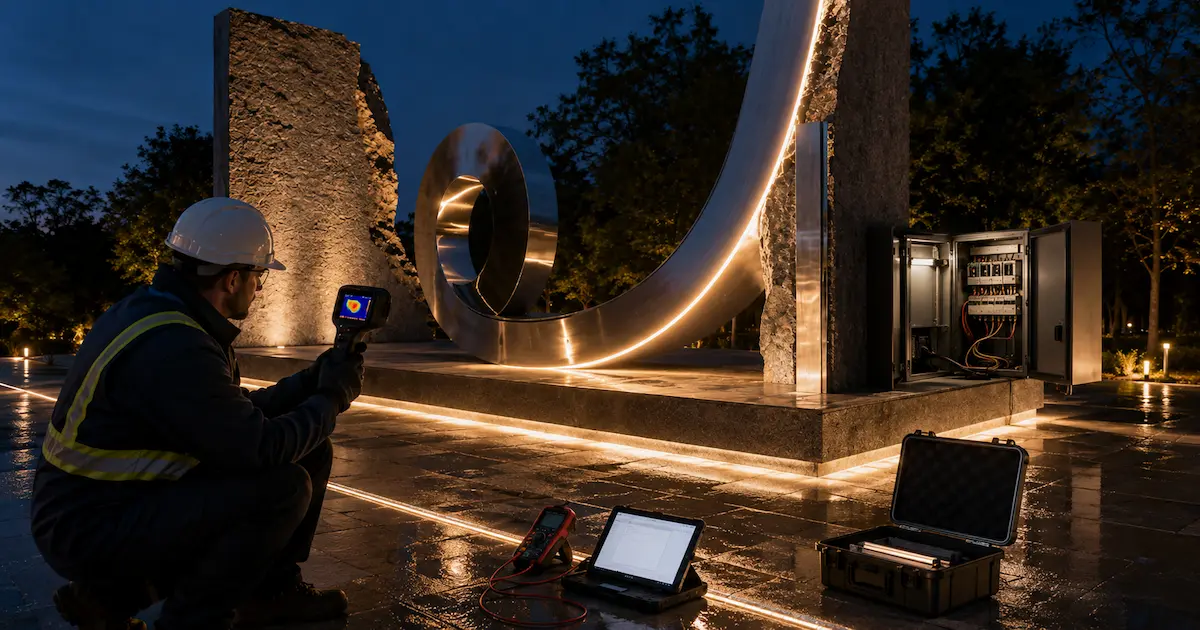
Test after installation, after wetting, and at night. Use thermal imaging to find hot spots, soak tests for sealing, and confirm CCT bins to avoid color mismatch.
| Failure mode | Quick symptom | Likely cause | Fix before handover |
|---|---|---|---|
| Dim far end | Brightness fades | Voltage drop | Add feed or thicker cable |
| Water inside channel | Fogging, flicker | Poor end seal | Reseal and add drainage |
| Color mismatch | Different white tones | Mixed bins or heat | Use same bin, test samples |
| Hot channel | Cover warps | High watt density | Lower power or change profile |
| Random flicker | Unstable output | Driver overload, bad joint | Check load, joints, driver margin |
Handover checks protect cash flow—one return visit often costs more than testing time.
Include a handover checklist with photos, labeling maps for feed points and zones, spare parts (extra end caps, small lengths of tape), and brief maintenance training for site staff. Record driver serials and set out recommended inspection intervals in the handover pack.
10. How should buyers specify LED tape channels for outdoor sculpture projects?
Provide detailed specs: sculpture material, environment, viewing distance, light effect, electrical plan, control, and service requirements. Ask for cross-section drawings, sample pieces, and a short test report for heat and output if needed.
Specification checklist:
- Sculpture material: bronze, stainless, stone, concrete, glass, resin
- Environment: rain, snow, coastal salt, fountain spray, UV exposure
- Viewing distance: close touch, 1–3 m, 5 m+
- Light effect: outline, halo, grazing, washing, hidden glow
- Electrical plan: voltage, power/m, feed points, driver margin
- Control: static, dimming, RGBW, DMX pixel
- Service plan: removable cover, spare parts, labeling
| Specification item | Recommended detail | Why it affects cost |
|---|---|---|
| IP rating | IP65/IP67/IP68 with seal method | Impacts labor and warranty |
| Channel drawing | Cross-section with dimensions | Prevents fit errors |
| Cable exit | Side, rear, end, custom length | Saves site soldering time |
| CCT/CRI/bin | 2700K–4000K, CRI 80/90, bin code | Reduces visual mismatch |
| Packaging | Cut lengths, labels, zone marks | Speeds installation |
If uncertain, send drawings and night-effect targets to the supplier’s engineering team. A small pre-production sample can prevent a large onsite problem.
Also include acceptance tests and warranty clauses in the contract: specify acceptable lumen maintenance, color tolerance, and response time for repairs. Request spare lengths and labeled replacement parts to reduce downtime after handover.
Conclusion
Choose channels that balance optics, sealing, heat management, voltage planning, mounting, and service access. Use aluminum for heat control, silicone neon for curves, and stainless/recessed channels for public or coastal sites. Specify IP, feed points, and access during procurement, and validate with site tests to reduce callbacks.
Considering whole-life cost rather than initial part cost will often favor slightly more robust channels and sensible access points. A small investment in prototyping and documentation typically returns through lower maintenance and fewer call-backs.
FAQ
Q1: What are LED tape channels for outdoor sculpture lighting?
They are mounting profiles that hold LED tape, protect it from weather and impact, manage heat, and shape the light effect. Materials include aluminum, silicone, and stainless steel. Many projects also add gaskets, end caps, and mounting clips specific to the site.
Q2: Which channel is best for curved outdoor sculptures?
Bendable silicone neon channels are usually best for curves, rings, and organic shapes. For high-power tape check heat limits and use samples to verify bend radius and brightness; consider hybrid solutions where silicone is supported by aluminum runs for high output.
Q3: Is IP68 always better than IP65 for sculpture lighting?
No. IP68 suits immersion; many outdoor sculptures only need IP65 or IP67 with proper drainage and sealed connectors. Site conditions should drive the choice—over-specifying raises costs and can complicate cooling and service access.
Q4: Why does LED tape look dim at the end of a long sculpture run?
Voltage drop is the usual cause. Use 24V or 48V tape, thicker cables, shorter segments, parallel feeds, or center feeding to keep brightness even. Also check connector resistance and driver sizing during commissioning.
Q5: Should outdoor LED tape channels use screws or adhesive?
Mechanical fixing is recommended for outdoor projects. Adhesive can help positioning, but screws, clips, brackets, and sealed fasteners give better long-term stability. Use stainless fasteners and design for maintenance access where possible.
