
Consider the whole lifecycle during selection: transport, storage, installation, maintenance, and eventual replacement. Choosing the right channel up front reduces onsite rework and makes maintenance cycles predictable, which is particularly important for public art maintained by municipalities or cultural institutions.
1. Which LED tape channels work best for outdoor sculptures?
The best channels depend on whether you need a soft line, grazing effect, hidden glow, or rugged public-area protection. Top choices are deep aluminum channels with opal diffusers, bendable silicone channels, recessed linear channels, and stainless fixing channels for harsh outdoor sites.
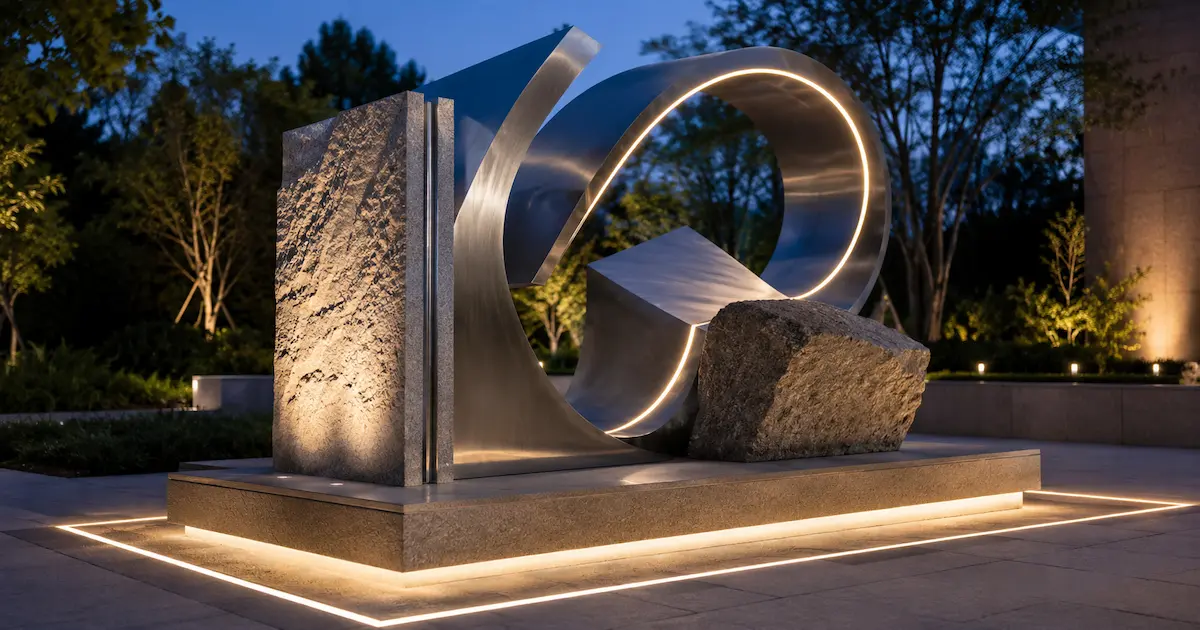
Sculpture lighting often has more movement and irregular geometry than façade lighting. A straight profile may look clean on paper but fail on a curved bronze figure or uneven stone. Early coordination with the fabricator and mock-ups on a scrap piece of the actual sculpture material will save time and avoid surprises.
| Channel type | Best use case | Main strength | Watch point |
|---|---|---|---|
| Deep aluminum channel | Straight edges, plinths, frames | Better diffusion and heat control | Needs drainage planning |
| Bendable silicone neon channel | Curves, organic shapes | Seamless lit line | Lower heat transfer than aluminum |
| Recessed floor channel | Walkways around sculpture | Impact resistance and clean finish | Must avoid standing water |
| Grazing channel | Stone, concrete, textured metal | Strong shadow detail | Beam angle must be tested onsite |
| Stainless mounting channel | Coastal or vandal-prone sites | Corrosion and mechanical strength | Higher cost and harder cutting |
When comparing options, ask suppliers for sample lengths, cut sections for trial fittings, and a simple report on expected lumen maintenance. This helps clients understand long‑term performance rather than just initial aesthetics.
2. How do aluminum channels affect heat, lifetime, and light quality?
Understanding how an LED aluminum channel increases LED strip life is important because the profile pulls heat away from the PCB and helps keep LED junction temperature under control. Effective thermal management of white LEDs is essential because excessive junction temperature accelerates lumen decay, color shift, adhesive failure, and long-term reliability problems.
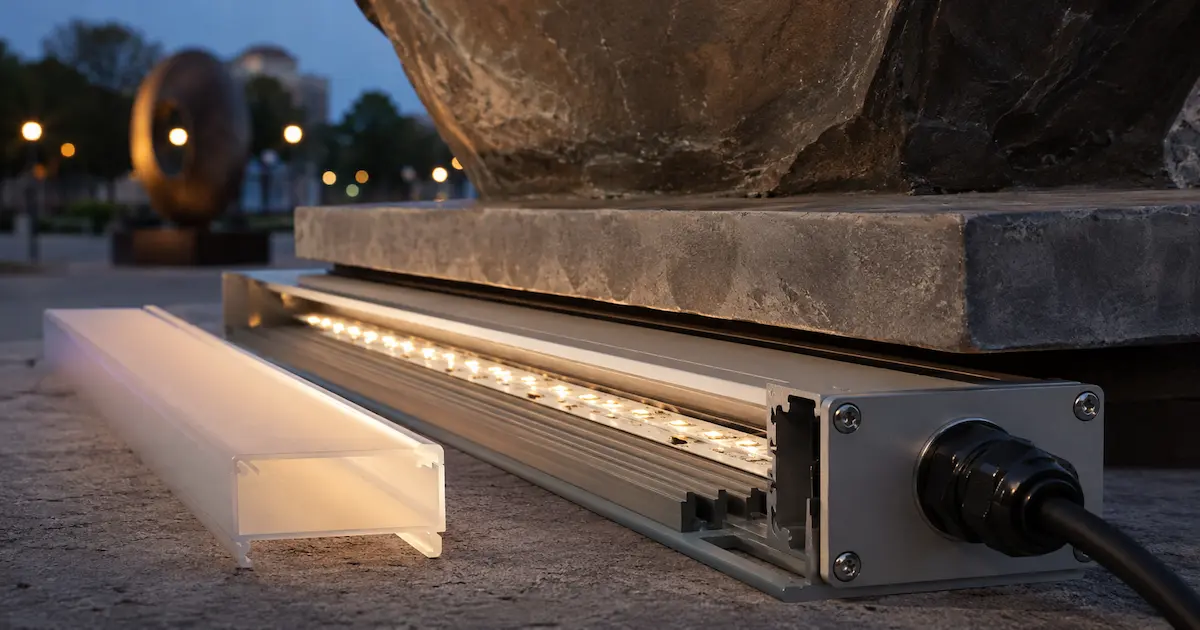
A 14.4 W/m strip installed inside a properly sized aluminum profile for LED strip lighting can run much cooler than the same strip attached directly to painted steel or stone. Brightness depends on lumen efficiency, channel diffusion, thermal transfer, optics, and surface reflectance—so a well-designed 10 W/m system can outperform an overheated 19.2 W/m run.
| Material | Thermal behavior | Outdoor suitability | Typical use |
|---|---|---|---|
| Anodized aluminum | Strong heat transfer | Good with sealed ends | Base lines, hidden coves |
| Powder-coated aluminum | Good, coating reduces transfer slightly | Good if UV rated | Visible architectural channels |
| Raw aluminum | Good but may oxidize | Needs treatment | Budget internal cavities |
| Stainless steel | Lower heat transfer than aluminum | Very good in coastal sites | Mounting rails, guards |
Pro Tip: “If the LED tape is above 12 W/m, treat the channel as part of the thermal system.”
In practice, factor thermal resistance between the PCB and the channel into any watts-per-meter decision. Also consider adding thermal paste or thermally conductive tape in high-power applications, and allow for air flow or conduct heat to a massive part of the sculpture when possible.
3. Are silicone neon channels better for curved sculpture lines?
Understanding how flexible LED profiles transform curved lighting designs helps designers create smooth, continuous, dot-free lines around rings, arches, waves, and organic sculpture forms. But silicone does not dissipate heat like aluminum, so PCB design, power density, and end-cap sealing must be controlled. For long curved runs, specify a compatible silicone LED profile with 24V or 48V operation, controlled watt density, factory-made end caps, and clearly documented bend-radius limits.
| Silicone type | Bend direction | Best sculpture shape | Risk to check |
|---|---|---|---|
| Top-bend neon | Vertical curves | Arches, waves, letters | Minimum bend radius |
| Side-bend neon | Horizontal curves | Rings, outlines | Uneven brightness if twisted |
| 3D flexible neon | Complex curves | Free-form artwork | Higher cost, tight planning |
| Mini neon | Fine detail | Small sculptures, signage | Lower brightness |
Always request a sample bend test before production. When specifying silicone neon, also require written bend-radius limits, recommended power densities, and a clear plan for how the channel will be supported so that sagging and mechanical fatigue are avoided over time.
4. What IP rating should channels have for rain, snow, and washdown?
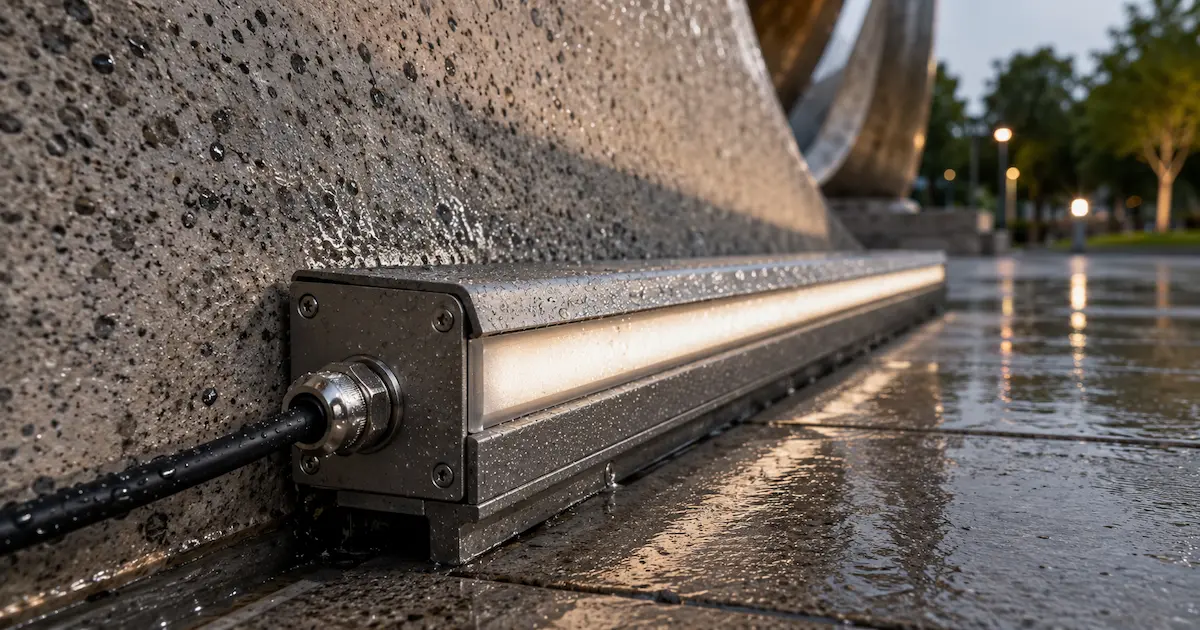
Choose the appropriate ingress protection IP rating according to the actual exposure to dust, rain, water jets, temporary immersion, and other site conditions. IP65 handles dust and water jets; IP67 temporary immersion; IP68 longer immersion. Correctly specified waterproof LED channels for outdoor installations must protect cut ends, connectors, screw holes, cable entries, and driver enclosures rather than relying only on the LED tape’s stated IP rating. Plan seals, glands, and drainage accordingly.
| Rating | Protection level | Suitable locations | Field warning |
|---|---|---|---|
| IP65 | Dust tight, water jet resistant | Covered outdoor sculptures | Not for puddles |
| IP67 | Dust tight, temporary immersion | Exposed bases, splash zones | Seal cuts carefully |
| IP68 | Long immersion per spec | Fountains, water features | Confirm chemistry and depth |
| IK08-IK10 cover | Impact resistance | Walkable plazas | Check cover glare and slip risk |
IP is only one piece of the reliability equation. For example, a system rated IP67 may still fail if installed with poor sealing practices or if incompatible sealants are used. Include installation checks in the contract and provide clear instructions for contractors about sealing, gland tightening torque, and acceptable sealant types.
5. How should beam angle and diffuser type be selected?
Beam angle and the selected LED channel diffuser define the sculpture’s perceived brightness, visual softness, LED-dot visibility, glare, and shadow detail. Narrow grazing emphasizes texture, while opal diffusers soften edges and help reduce discomfort glare in outdoor environments after dark. Clear covers maximize output but reveal dots; opal hides dots but reduces lumens. Account for 15%–35% light loss through opal diffusers in lumen planning.
| Optical choice | Light effect | Light loss range | Best location |
|---|---|---|---|
| Clear cover | High output, visible dots | 5%–12% | Hidden channels, grazing |
| Frosted cover | Balanced output | 12%–22% | Mid-distance viewing |
| Opal cover | Dot-free soft line | 20%–35% | Close viewing, luxury spaces |
| Asymmetric lens | Directed wash | 10%–25% | One-sided faces |
| Narrow lens | Strong grazing | 8%–18% | Carved stone, concrete |
Place grazing channels 50–150 mm from textured surfaces for depth; use warm CCT (2700K–3000K) for bronze.
In addition to diffuser choice, consider the geometry of the installation: distance to the surface, the angle of incidence, and the reflectance of the material. Run small photometric mock-ups when possible to verify perceived contrast, shadow length, and color rendition.
6. Which voltage and power setup reduces voltage drop on long outdoor runs?
Voltage drop causes uneven lighting. For large sculptures, 24V is the practical baseline; 48V reduces current for very long outlines. Use parallel feeds, thicker cable, and center feeding for rings or loops. Keep drivers serviceable—hidden sealed drivers complicate repairs.
| System | Best run length | Pros | Cons |
|---|---|---|---|
| 12V | Short details (<5 m) | Wide accessory range | High voltage drop |
| 24V | Medium runs (5–15 m) | Good balance, driver range | Needs feed planning |
| 48V | Long outlines (>15 m) | Low cable loss | Requires safety review |
Plan feed points, conductor size, electrical protection, and installation methods during design in accordance with the principles of the National Electrical Code for safe electrical installation.
Also specify cable types (UV-rated, outdoor-rated jacket, tinned copper conductors) and detail how solder joints will be protected. Where multiple runs exist, label zones clearly and include a simple feed diagram in the handover pack for future maintenance crews. The following independent tutorial demonstrates practical methods for extending, waterproofing, testing, and power-injecting outdoor LED runs to improve connection reliability and maintain even brightness.
7. What mounting methods prevent channel movement and water traps?
Following a professional process to install LED aluminum channels securely is essential outdoors because adhesive-only fixing rarely withstands temperature changes, moisture, substrate movement, and public-area vibration. Use mechanical fixing—stainless clips, countersunk screws with sealing washers, flexible brackets for silicone neon—and ensure drainage and strain relief at cable entries.
| Mounting issue | Likely result | Better practice |
|---|---|---|
| No drain path | Water pooling, seal stress | Add weep holes and slope |
| Adhesive-only fixing | Channel detachment | Use clips or screws |
| Mixed metals | Corrosion staining | Use compatible fasteners |
| Tight cable bend | Broken conductors | Add strain relief loop |
| No service access | High labor cost | Plan removable covers |
Use tamper-resistant fasteners in plazas and 316 stainless on coasts.
A practical tip: during installation, temporarily apply channels and pour a small amount of water to verify drainage paths and check for pooling. This simple soak test often reveals minor installation errors before the site is handed over.
8. How do control channels handle RGBW, DMX, and dimming?
Dynamic control (RGBW, tunable white, DMX pixels) demands wider channels and more service planning. Wider tape, extra conductors, and heat capacity are required. Plan controllers and data routing so faults can be isolated quickly.
| Control type | Best use | Channel impact | Site concern |
|---|---|---|---|
| Single-color dimming | Static glow | Narrow channels ok | Driver compatibility |
| Tunable white | Day/night shifts | More conductors | CCT calibration |
| RGBW | Color scenes | Wider tape, more heat | Waterproof connectors |
| DMX pixel | Dynamic effects | Data cable route needed | Addressing, signal distance |
| 0–10V/DALI | Building integration | Driver-side layout | Control cabinet access |
Mock-up three scenes (full white, low dim, saturated color) to validate control, heat, and voltage behavior.
Also specify how firmware updates, addressing documents, and spare controllers will be handled. For DMX or pixel installations, include a simple network map and a note on termination and signal boosters so local technicians can troubleshoot easily.
9. What failures should contractors check before handover?
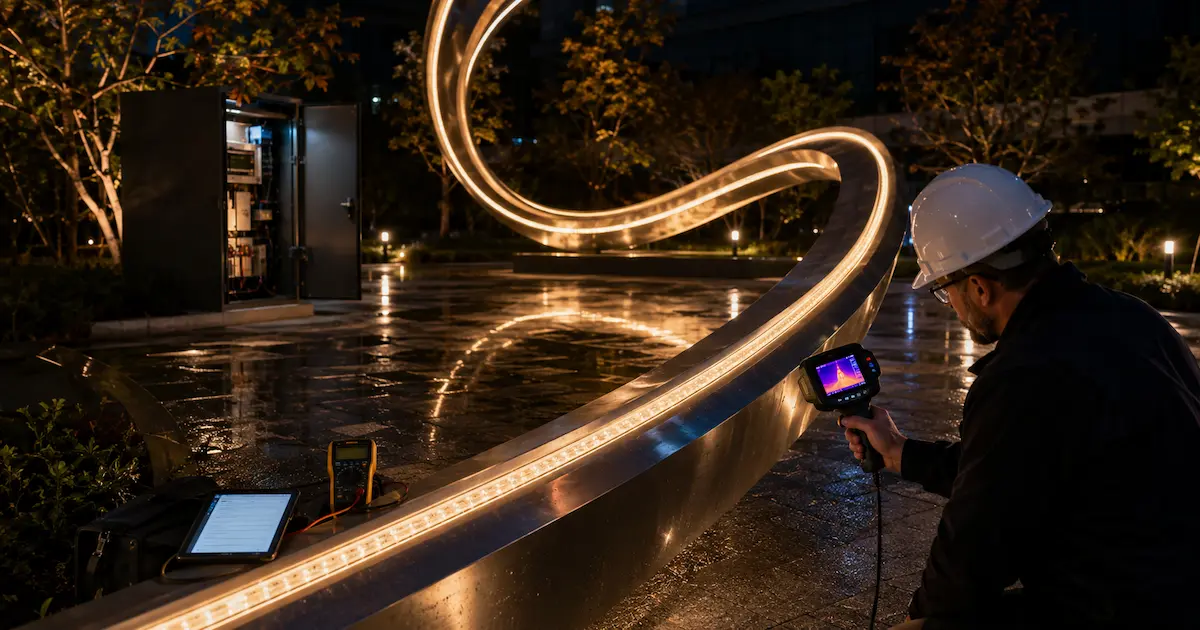
Test after installation, after wetting, and at night. Use thermal imaging to find hot spots, soak tests for sealing, and confirm CCT bins to avoid color mismatch.
| Failure mode | Quick symptom | Likely cause | Fix before handover |
|---|---|---|---|
| Dim far end | Brightness fades | Voltage drop | Add feed or thicker cable |
| Water inside channel | Fogging, flicker | Poor end seal | Reseal and add drainage |
| Color mismatch | Different white tones | Mixed bins or heat | Use same bin, test samples |
| Hot channel | Cover warps | High watt density | Lower power or change profile |
| Random flicker | Unstable output | Driver overload, bad joint | Check load, joints, driver margin |
Handover checks protect cash flow—one return visit often costs more than testing time.
Create a checklist and require sign-off for each test with photos attached to the handover packet. This paperwork is invaluable when managing warranty claims or unexpected site conditions later in the project’s life.
10. How should buyers specify LED tape channels for outdoor sculpture projects?
When ordering an outdoor LED strip channel, provide detailed specifications covering the sculpture material, environment, viewing distance, desired light effect, electrical plan, control method, sealing system, and service requirements. Ask for cross-section drawings, sample pieces, and a short test report for heat and output if needed.
Specification checklist:
- Sculpture material: bronze, stainless, stone, concrete, glass, resin
- Environment: rain, snow, coastal salt, fountain spray, UV exposure
- Viewing distance: close touch, 1–3 m, 5 m+
- Light effect: outline, halo, grazing, washing, hidden glow
- Electrical plan: voltage, power/m, feed points, driver margin
- Control: static, dimming, RGBW, DMX pixel
- Service plan: removable cover, spare parts, labeling
| Specification item | Recommended detail | Why it affects cost |
|---|---|---|
| IP rating | IP65/IP67/IP68 with seal method | Impacts labor and warranty |
| Channel drawing | Cross-section with dimensions | Prevents fit errors |
| Cable exit | Side, rear, end, custom length | Saves site soldering time |
| CCT/CRI/bin | 2700K–4000K, CRI 80/90, bin code | Reduces visual mismatch |
| Packaging | Cut lengths, labels, zone marks | Speeds installation |
If uncertain, send drawings and night-effect targets to the supplier’s engineering team. A small pre-production sample can prevent a large onsite problem. Also consider including a phased installation plan and an agreed site acceptance procedure in the contract to avoid disputes at completion.
Conclusion
Choose channels that balance optics, sealing, heat management, voltage planning, mounting, and service access. Use aluminum for heat control, silicone neon for curves, and stainless/recessed channels for public or coastal sites. Specify IP, feed points, and access during procurement, and validate with site tests to reduce callbacks.
Good specification, mock-ups, and simple field tests are the cheapest insurance against rework. Make sure the installation team understands the difference between laboratory performance and real-world conditions like wind-driven rain, grit, and physical contact in public spaces.
FAQ
Q1: What are LED tape channels for outdoor sculpture lighting?
They are mounting profiles that hold LED tape, protect it from weather and impact, manage heat, and shape the light effect. Materials include aluminum, silicone, and stainless steel. Additionally, well-specified channels simplify installation, future maintenance, and ensure consistent photometric performance across the project.
Q2: Which channel is best for curved outdoor sculptures?
Bendable silicone neon channels are usually best for curves, rings, and organic shapes. For high-power tape check heat limits and use samples to verify bend radius and brightness. If the design needs higher output, consider hybrid solutions where silicone is backed by short aluminum heatsinks at strategic points.
Q3: Is IP68 always better than IP65 for sculpture lighting?
No. IP68 suits immersion; many outdoor sculptures only need IP65 or IP67 with proper drainage and sealed connectors. Site conditions should drive the choice. Over-specifying IP can unnecessarily increase cost and complicate ventilation or heat dissipation.
Q4: Why does LED tape look dim at the end of a long sculpture run?
Voltage drop is the usual cause. Use 24V or 48V tape, thicker cables, shorter segments, parallel feeds, or center feeding to keep brightness even. Also verify connector resistance and contact quality as poor connections can mimic voltage drop symptoms.
Q5: Should outdoor LED tape channels use screws or adhesive?
Mechanical fixing is recommended for outdoor projects. Adhesive can help positioning, but screws, clips, brackets, and sealed fasteners give better long-term stability. Where aesthetics matter, concealed mechanical fixings combined with a quality structural adhesive provide both appearance and resilience.
