
The solution is to specify lighting from the installation environment backward. Start with artwork sensitivity, viewing distance, run length, control needs, and maintenance access. From our manufacturing floor perspective, art lighting needs tighter review than standard decorative lighting because small defects become visible fast. In our lab tests using integrating spheres, we see how CRI, binning, and output stability affect real surfaces, not only datasheets.
1. What makes LED strip lights suitable for art installations?
Art installations often need light that can bend around forms, hide inside channels, and create clean lines without bulky fixtures. That is where flexible LED strips work well. They can sit inside aluminum profiles, behind translucent acrylic, under display shelves, inside sculpture frames, or support LED strip lights for exhibition wall applications with curved, recessed, or backlit architectural details.
But here’s the catch: flexibility does not mean every strip fits every artwork. For light-sensitive paintings, textiles, works on paper, and historic objects, the Smithsonian’s light duration guidelines provide useful context for balancing exhibition visibility with long-term preservation. A media art piece may need RGBW pixels and DMX control. Professional LED strip lights for museum artifact display applications may require low UV output, reduced heat, high color accuracy, glare control, and stable long-term color rendering. The following Smithsonian American Art Museum presentation provides professional context on how LED technology can be evaluated for museum collections, exhibition quality, and artwork conservation.
We often see installers struggle with projects where the lighting is treated as a last-minute accessory. In one field example, a contractor used a high-watt strip behind a resin panel. The panel looked bright for two days, then showed hot spots and yellowing near the LEDs. The issue was not the concept. It was the wrong LED density, profile depth, and thermal path.
| Art Installation Type | Typical Strip Choice | Key Spec to Check | Risk if Ignored |
|---|---|---|---|
| Gallery wall wash | High CRI white strip | CRI 90+, tight CCT bin | Poor color rendering |
| Sculpture backlight | COB or high-density strip | Dot-free output | Visible LED points |
| Outdoor facade art | IP67/IP68 strip | Sealing and drainage | Water ingress |
| Interactive exhibit | RGBW or pixel strip | Controller protocol | Control mismatch |
| Display case | Low watt, high CRI strip | Heat and UV level | Artwork damage |
The core value is control. You can shape the light source to the artwork instead of forcing the artwork to accept a standard fixture.
2. How should you choose voltage for art lighting runs?
Voltage choice affects brightness consistency, driver layout, cable size, and installation time. For short artwork frames, 12V may be fine. For longer gallery coves, 24V is usually more practical. For large architectural art features, 48V can reduce voltage drop and cable losses.
When we tested this against a standard 12V strip on a long linear mockup, brightness loss became visible near the far end faster than many buyers expect. At 10 to 15 meters, even small voltage drop can create uneven light on a white wall. That unevenness becomes hard to defend when a curator or project owner sees it during final inspection.
Here’s the real story: voltage is not only about safety or price. It directly affects your labor cost. If you choose a low-voltage strip for a long run, installers may need more power injection points, thicker cables, and extra junctions. Each extra joint adds time and failure risk.
| Voltage | Best Use | Strength | Limitation |
|---|---|---|---|
| 12V | Short frames, small signs | Easy to cut, common drivers | Higher voltage drop |
| 24V | Gallery coves, shelves, medium runs | Balanced efficiency and availability | Needs planned cut lengths |
| 48V | Long art walls, facade lines | Lower current, less drop | Fewer strip options |
For most professional art installations, 24V is the safe middle ground. It gives better run stability than 12V while keeping driver sourcing and controls manageable.
3. Which color specifications matter most for artwork?
Color accuracy is one of the biggest reasons to specify LED strip lights for art installation carefully. Artwork is judged by tone, texture, and contrast. If a strip makes red pigment look dull or turns warm wood greenish, the lighting has failed the artist and the client.
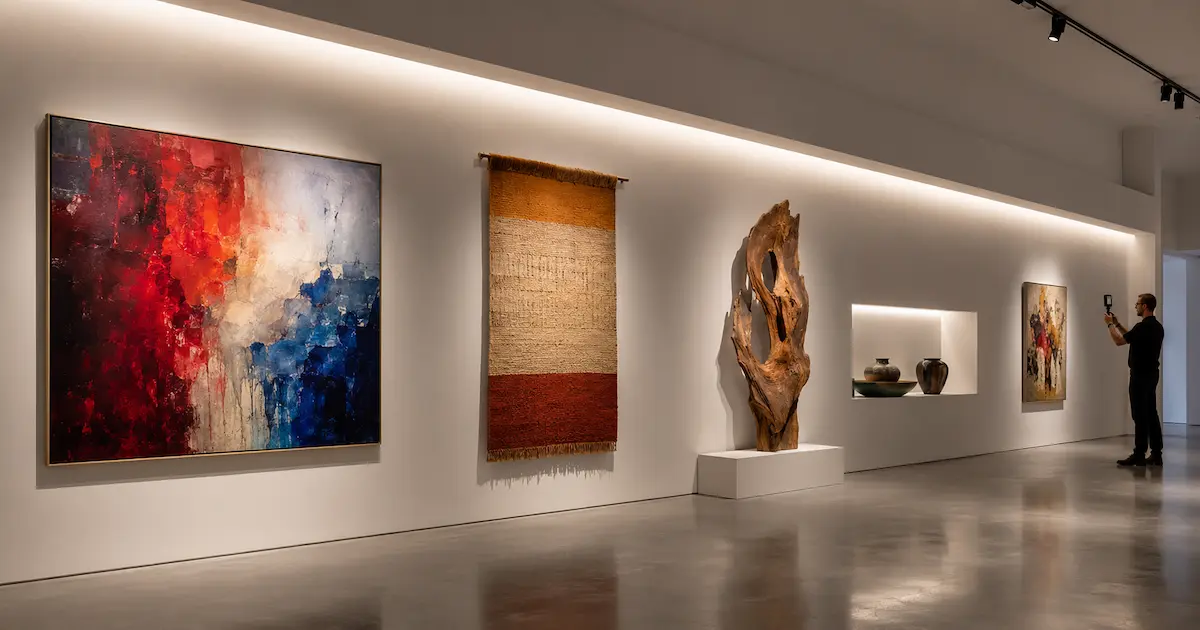
The main specs are CCT, CRI, R9, and binning. CCT controls whether the light feels warm, neutral, or cool. CRI gives a general color rendering score. R9 measures strong red rendering, which matters for skin tones, paintings, textiles, and many natural materials. For premium galleries and color-critical exhibits, the Illuminating Engineering Society explains how using TM-30 to improve your lighting design provides a broader assessment of color fidelity and gamut than relying on CRI alone.
In our lab tests using integrating spheres, we compare reported CCT with measured CCT and check lumen output after thermal stabilization. We explain this process because ignoring color binning can create visible mismatch across gallery corridors, multi-room installations, and LED strip lights for feature wall projects where several illuminated sections appear side by side.
| Specification | Recommended Range | Why It Matters |
|---|---|---|
| CCT | 2700K, 3000K, 3500K, 4000K | Sets the visual mood |
| CRI | 90+ for most art | Helps colors appear natural |
| R9 | 50+ preferred, 80+ for premium work | Improves red tones |
| SDCM | 3-step or tighter | Reduces batch mismatch |
| TM-30 | Use for high-end projects | Gives deeper color data |
Common Myth: Higher wattage always means better brightness. Reality: Lumen efficiency, LED density, optics, and surface reflectance decide the final visual result. A 10W/m strip with good efficiency and correct diffusion can outperform a 14W/m strip that wastes heat.
4. How do LED density and strip type affect visual quality?
Visible dots can ruin an art installation. This is especially true for reflective metal, acrylic panels, glass displays, and close-viewing exhibits. LED density, strip type, and diffuser distance all control whether the output looks smooth or spotted.
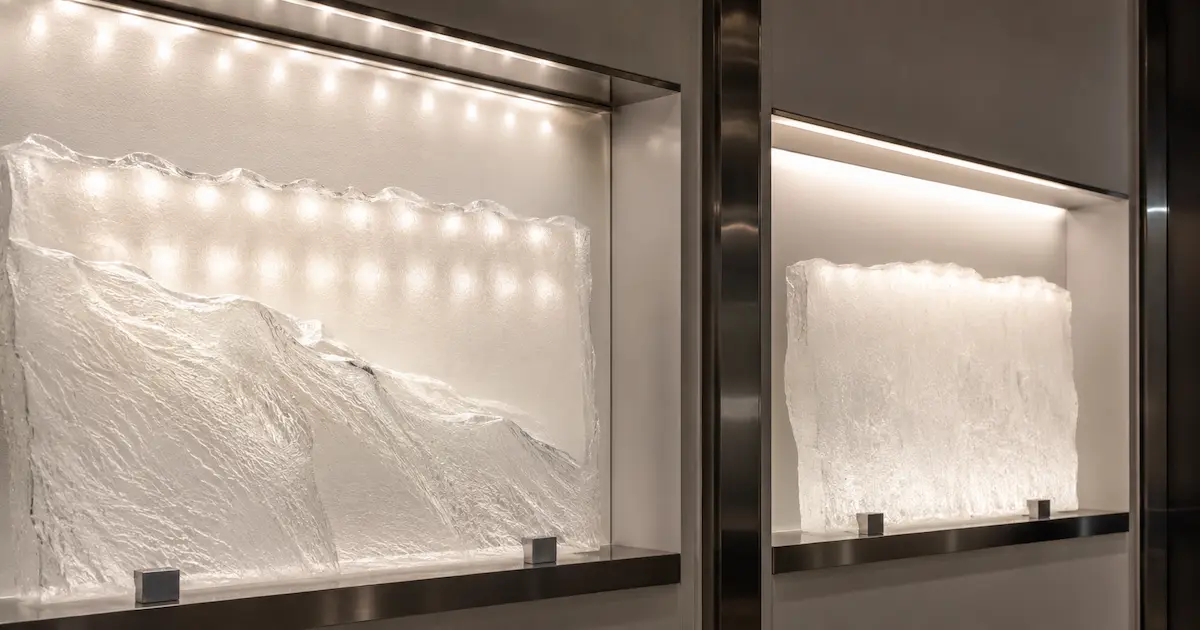
SMD strips use individual LED packages. They are economical and flexible, but they can show dots if placed too close to a diffuser. Understanding what a COB LED strip is helps explain why its closely packed chips and continuous phosphor layer create a smoother, more uniform light line for close-view art installations. Side-emitting strips work well for edge lighting acrylic or tracing thin profiles.
We once saw a hotel lobby art wall where standard 60 LED/m strip was placed only 8 mm below a frosted cover. During daytime it looked acceptable. At night, every LED point appeared. The rework required new profiles and higher-density strips, which damaged the contractor’s margin.
| Strip Type | Visual Effect | Best Application | Watch Point |
|---|---|---|---|
| SMD 2835 | Efficient linear light | Hidden coves, indirect wash | Needs diffuser depth |
| SMD 3528 | Lower output | Small accents | Limited brightness |
| COB | Dot-free line | Close-view art, shelves | Check heat per meter |
| RGBW | Color plus white | Dynamic exhibits | Needs proper controller |
| Pixel strip | Addressable effects | Interactive art | Data wiring planning |
Pro Tip from VST Technical Team: “If viewers stand within one meter of the light line, test the strip and profile sample together. A good strip in the wrong channel can still look poor.”
5. What role do aluminum profiles and heat control play?
Heat is the silent margin killer in LED strip projects. The strip may work during a bench test, then fail after months inside a narrow slot with poor ventilation. Applying the correct solution to LED strip heat issues helps prevent shortened LED life, color shift, adhesive failure, and heat damage to resin, acrylic, textiles, or other nearby artwork materials.
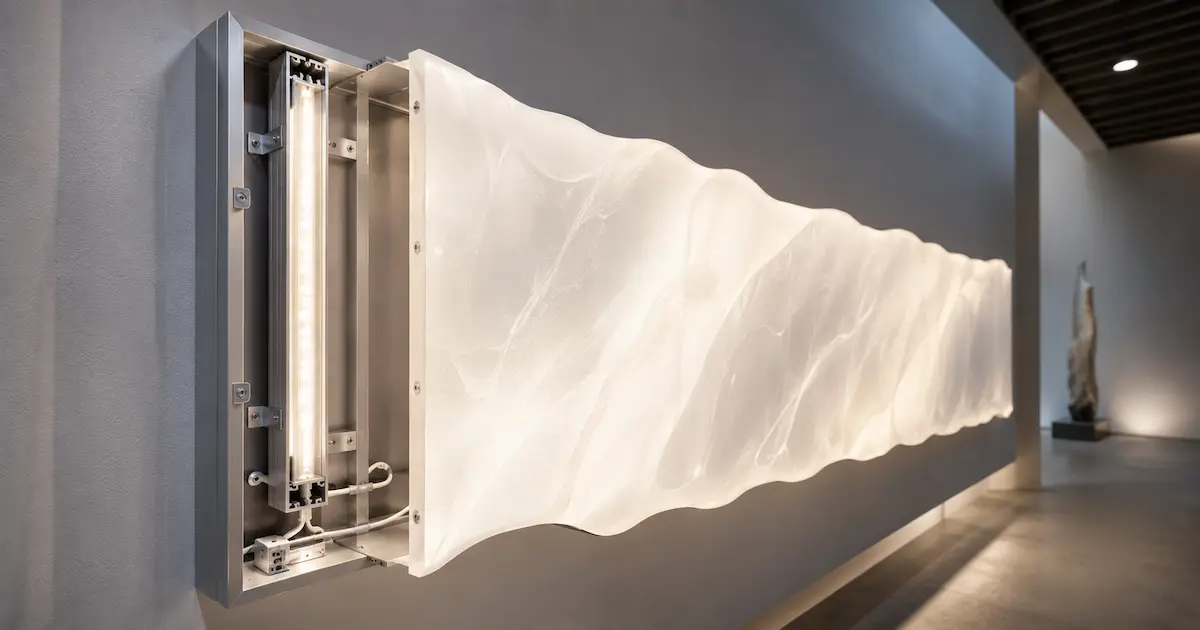
Aluminum profiles solve two problems at once. They provide a mounting surface and act as a heat sink. They also hold diffusers that soften the light. For art installation work, profile selection should match thermal load, visual style, and access for service.
From our manufacturing floor perspective, adhesive tape should never be the only mechanical support in demanding projects. Use clips, screws, channels, or custom brackets, especially for vertical runs, ceiling pieces, and warm environments.
| Wattage per Meter | Suggested Mounting | Thermal Risk | Typical Use |
|---|---|---|---|
| 4–6W/m | Basic profile or metal surface | Low | Display cases |
| 8–12W/m | Standard aluminum profile | Medium | Gallery accents |
| 14–20W/m | Deep/heavy profile | High | Wall wash, backlit panels |
| 20W/m+ | Custom heat sink review | Very high | Large luminous surfaces |
For a sculptural acrylic box, a low-watt COB strip may be better than a powerful strip. Less heat often means longer service life, safer materials, and fewer callbacks.
6. How should you select IP rating and protection level?
The International Electrotechnical Commission’s explanation of IP ratings helps project teams understand how electrical enclosures are classified for protection against contact, dust, and water. Indoor gallery lighting may only need IP20. A café mural with steam and cleaning chemicals may need IP65. Outdoor public art needs IP67 or IP68 depending on exposure, drainage, and mounting angle.
But IP rating is not a magic shield. A sealed strip can still fail if cut points are poorly sealed, cable exits face upward, or water sits inside a channel. We have reviewed failed samples where the strip itself was rated IP67, yet the connector area allowed moisture to enter.
For facade artwork and LED strip lights for outdoor signage, always plan drainage, downward-facing cable exits, sealed cut points, and corrosion-resistant mounting hardware. Do not create a waterproof bathtub around the strip. Water must have a path out. For coastal installations, review salt spray exposure and use corrosion-resistant mounting hardware.
| IP Rating | Protection Level | Suitable Art Use | Notes |
|---|---|---|---|
| IP20 | Dry indoor only | Gallery shelves, frames | Best heat release |
| IP44 | Light splash | Protected interiors | Limited use |
| IP65 | Silicone coating | Damp indoor, covered outdoor | Seal cut ends well |
| IP67 | Encapsulated or sleeved | Outdoor murals, facades | Check cable exits |
| IP68 | Continuous wet locations | Special water features | Needs project review |
Choose the lowest protection that safely matches the environment. Over-sealing can trap heat, while under-protection creates water damage and liability.
7. What dimming and control systems work best for art installations?
Dimming is where many art lighting projects get complicated. A strip, driver, dimmer, and controller must all speak the same electrical language. If the strip, driver, dimmer, and controller are not compatible, achieving flicker-free LED strip lighting becomes difficult, and the installation may suffer from buzzing, uneven fades, or dead zones.
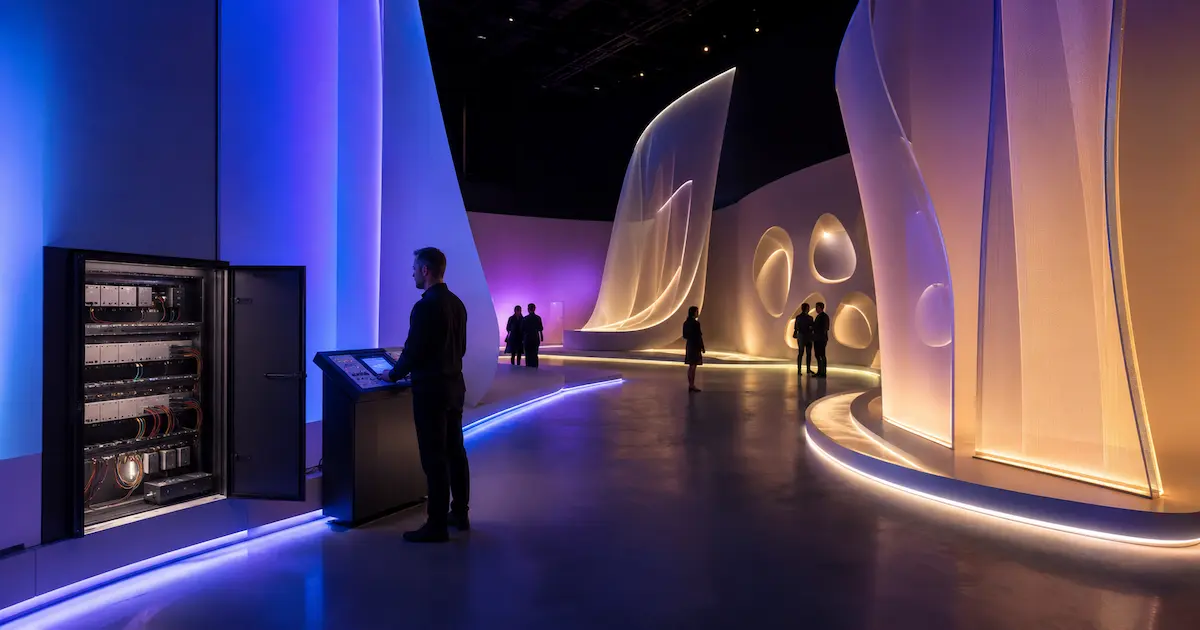
For simple white lighting, 0-10V, TRIAC, DALI, or PWM dimming may be used. For RGBW art pieces, DMX512 is common because it gives reliable multi-channel control. For pixel art, SPI or similar data protocols may be required. The control method must be decided before wiring starts.
We often see installers struggle with dimming because they buy the strip and driver separately, then test compatibility on site. That creates project delays. For a museum opening, even one flickering display case can draw attention away from the artwork.
| Control Method | Best For | Strength | Risk |
|---|---|---|---|
| TRIAC | Small dimmable white projects | Familiar to electricians | Driver compatibility issues |
| 0-10V | Commercial white dimming | Stable and simple | Extra control wires |
| DALI | Galleries with zones | Addressable control | Needs commissioning |
| DMX512 | RGBW installations | Accurate scene control | Requires data planning |
| SPI | Pixel effects | Individual LED control | More technical setup |
The U.S. Department of Energy’s guide to flicker basics provides additional technical context on changes in light output over time and why full-system dimming tests matter. Many problems appear between 1% and 20%, where art spaces often operate.
8. How do power supplies and wiring affect reliability?
Power design is not glamorous, but it decides whether the installation runs smoothly after handover. Select drivers with suitable wattage headroom, correct voltage, dimming compatibility, and safety certification. A common practice is to load constant-voltage drivers at about 80% of rated capacity.
For example, if an installation uses 96W of LED load, choose a driver around 120W rather than pushing a 100W unit near its limit. This reduces heat and extends service life. Certified drivers also help meet local compliance needs in Europe, North America, and other regulated markets.
Cable size matters too. Long cable runs create voltage drop before power reaches the strip. Thin cables can warm up and create uneven output. For long gallery walls and large illuminated sculptures, learning how to power multiple LED strips properly helps determine suitable cable sizes, parallel circuits, driver loading, and planned power-injection points.
| Design Item | Practical Guideline | Business Impact |
|---|---|---|
| Driver load | Use about 80% capacity | Longer driver life |
| Cable length | Calculate voltage drop | Even brightness |
| Cable gauge | Match current and distance | Lower heat risk |
| Power injection | Use for long runs | Fewer dim ends |
| Certification | CE, RoHS, UL, CB where needed | Easier project approval |
Do not hide drivers where service teams cannot reach them. A clean installation should still allow maintenance without breaking walls or removing artwork.
9. What installation checklist reduces callbacks?
A good checklist protects profit. It also protects reputation. Most failures in LED strip lights for art installation come from small decisions made under time pressure: wrong polarity, poor soldering, no strain relief, dirty mounting surfaces, or skipped burn-in tests.
Before installation, verify the strip model, voltage, CCT, power per meter, batch number, and driver rating. During installation, clean surfaces, test each segment, secure wires, and avoid sharp bends. After installation, run a burn-in test and check brightness at both ends.
In one field example, a contractor installed 200 meters of strip in display niches before testing dimming. The strips worked at full power but flickered at 10%. The fix required driver replacement across many zones. A 30-minute bench test could have prevented two days of rework.
| Checklist Step | What to Verify | Common Failure | Quick Fix |
|---|---|---|---|
| Pre-test | Strip lights before mounting | Dead segment | Replace before install |
| Polarity | + and – wiring | No light | Correct connection |
| Surface prep | Clean, dry mounting area | Tape failure | Use profile/clips |
| Bend radius | No sharp folds | PCB crack | Use corner connector |
| Voltage at end | Measure far end | Dim output | Add power injection |
| Dimming test | Check 1–100% | Flicker | Match driver/control |
| Burn-in | Run 4–8 hours | Early fault | Replace weak parts |
This checklist is simple, but it saves real money. Every callback removes profit from the project.
10. How can buyers specify LED strips for repeatable project success?
A clear specification prevents confusion between buyer, supplier, contractor, and end client. Instead of asking for “warm white LED strip,” specify voltage, wattage, CCT, CRI, SDCM, LED type, PCB width, IP rating, adhesive type, cut length, profile, driver, control method, and certification needs.
For repeated art installation work, ask for sample approval before mass production. Then keep the approved sample and production data on file. This helps avoid disputes later. Batch consistency matters because art projects often expand in phases. A gallery may order one room now and three rooms later. Without bin control, the new lighting may not match the old lighting.
From our manufacturing floor perspective, clear drawings reduce errors. Mark the cable exit side, lead length, connector type, and profile orientation. Custom pre-soldered leads can save installers hours on site, especially in high ceilings or complex sculptures.
| Specification Field | Example Request | Why It Helps |
|---|---|---|
| Voltage | 24V DC | Matches driver plan |
| CCT/CRI | 3000K, CRI 95 | Protects art appearance |
| Binning | 3-step SDCM | Keeps color uniform |
| Strip type | COB, 10mm PCB | Reduces dotting |
| IP rating | IP65 with sealed ends | Fits damp location |
| Lead wires | 300mm pre-soldered | Saves installation time |
| Packaging | Zone labels | Reduces site confusion |
The better the specification, the fewer surprises. That helps protect schedule, margin, and client trust.
Final Notes
LED strip lights for art installation can produce clean lines, accurate color, and strong visual impact, but only when the technical details match the creative intent. Review voltage, color quality, heat, IP rating, dimming, wiring, and installation method before ordering. Small choices decide whether the project feels professional or becomes a costly callback. If you’re unsure about voltage drop, color binning, or driver layout for a specific artwork, send our engineering team your drawings. We’ll review them manually and share practical suggestions.
Conclusion
Plan lighting around the artwork by specifying voltage, color metrics, thermal management, IP, controls, and power layout. Use proper profiles, drivers, testing, and approved samples to avoid callbacks—clear specs and verification make installations repeatable and reliable.
FAQ
Q1: What are LED strip lights for art installation?
LED strip lights for art installation are flexible lighting strips used to illuminate, outline, backlight, or integrate light into artwork, sculptures, galleries, museums, retail displays, and public art features. They are valued for their slim size, flexible mounting, and wide range of color and control options.
Q2: How does color rendering affect artwork?
Color rendering controls how accurately pigments, textures, textiles, wood, and skin tones appear under the light. For most art spaces, CRI 90+ is recommended, with stronger R9 values for red tones. Poor color rendering can make premium artwork look flat or inaccurate.
Q3: Is 12V or 24V better for art installations?
For small frames and short runs, 12V can work well. For most professional art installations, 24V is preferred because it reduces voltage drop, supports longer runs, and lowers the need for frequent power injection points.
Q4: Do LED strips need aluminum profiles?
In most professional projects, yes. Aluminum profiles improve heat dissipation, provide a clean mounting method, protect the strip, and hold diffusers for smoother light. High-watt strips should not rely only on adhesive tape.
Q5: Why do LED strip lights flicker after installation?
Flicker usually comes from driver and dimmer mismatch, overloaded power supplies, poor wiring, or control signal problems. Test the full system from 1% to 100% brightness before final mounting, especially for galleries and exhibition spaces.
