
1. What Are LED Strip Lights for False Ceiling Used For?
LED strip lights for false ceiling applications are mainly used for ceiling cove lighting, perimeter lighting, layered ambient light, and decorative linear effects. In hotel corridors, LED strip lighting for hallway ceilings can soften the ceiling line, create more uniform indirect illumination, and reduce glare from visible fixtures. In a villa living room, they create warm background light while downlights handle task lighting. In a retail showroom, they can guide attention toward display walls without visible fixtures.
The catch is simple: hidden lighting still needs engineering discipline. A false ceiling traps heat, hides wiring, and makes repair harder after paint and finishing work. We often see installers struggle with strips placed directly on gypsum board. The strip works during handover, then lumen output drops early because heat has nowhere to go.
Common usage scenarios include:
- ● Residential coves with warm white 2700K or 3000K
- ● Office ceilings using 4000K for a clean working atmosphere
- ● Hospitality projects needing strict color consistency
- ● Retail ceilings using high CRI strips for product appearance
- ● RGB or RGBW strips for lounges, bars, and event spaces
| False Ceiling Area | Typical Lighting Goal | Suggested Strip Type | Key Risk |
|---|---|---|---|
| Living room cove | Soft ambient glow | 24V SMD or COB, 8–12W/m | Visible dotting if cove is shallow |
| Hotel corridor | Uniform linear light | 24V high-density strip | CCT mismatch between batches |
| Retail ceiling | Product-friendly light | CRI90+ strip | Low CRI causing dull colors |
| Restaurant ceiling | Warm mood light | 2700K dimmable strip | Driver flicker during dimming |
| Office ceiling | Clean indirect light | 4000K efficient strip | Poor glare control from wrong angle |
2. Which LED Strip Type Works Best in False Ceilings?
The right strip type depends on the viewing distance, cove depth, ceiling finish, and brightness target. Standard SMD 2835 strips are cost-effective and widely used. COB strips create a continuous line with fewer visible dots. High-density SMD strips sit between these two options, giving smoother output than basic strips while keeping cost under control.
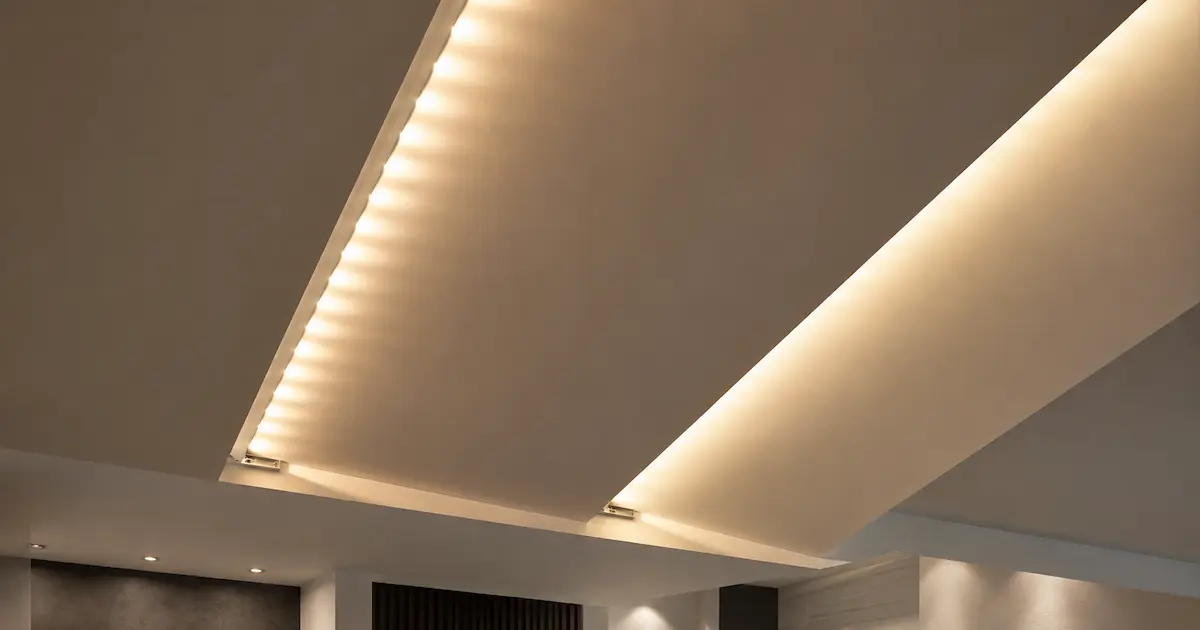
Here’s the deal: many projects fail because the strip is selected before the ceiling detail is reviewed. A 60 LED/m strip may look fine in a deep cove, but it can show dotting in a narrow 30 mm slot. A COB strip may solve dotting, but it needs careful heat management if wattage is high.
In our lab tests using integrating spheres, we compare lumen output, color temperature, CRI, and wattage stability before recommending a strip series. For false ceilings, we usually look at three points: light uniformity, efficiency, and thermal behavior after long running hours.
| Strip Type | Best Use | Strength | Limitation |
|---|---|---|---|
| SMD 2835 | Standard coves | Good lumen per watt, stable supply | Dotting possible in shallow coves |
| High-density SMD | Premium coves | Smoother line, better uniformity | Higher current draw |
| COB | Dot-free visible slots | Continuous light surface | Needs better heat path |
| RGB | Decorative ceilings | Color scenes | Lower white quality |
| RGBW | Mixed mood and white light | Better white than RGB | More complex wiring and control |
For commercial interiors, CRI90 and tight binning often matter more than chasing the highest wattage. We explain this binning process because ignoring it leads to visible color mismatch in hotel corridors and high-end homes.
3. Should You Choose 12V or 24V LED Strips for False Ceilings?
For most false ceiling projects, strips from a suitable 24V LED strip manufacturer are often the safer professional choice for medium and long ceiling runs. It reduces current, limits voltage drop, and supports longer runs from one driver compared with 12V. A 12V strip can still work in short coves, cabinets, and small decorative areas, but it becomes harder to manage on long ceiling perimeters.
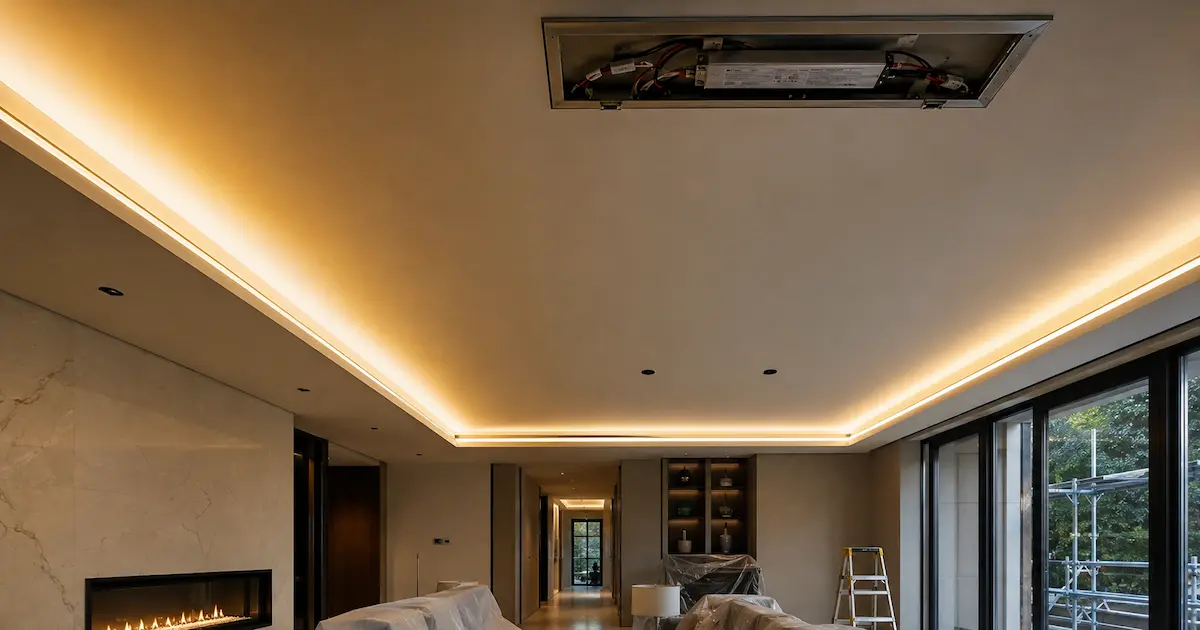
When we tested this against a standard 12V strip, the difference became clear on longer runs. At the same wattage, the 12V circuit carried roughly double the current of the 24V circuit. That higher current creates more voltage drop across copper traces and cables. The result is brighter light near the feed point and weaker light at the far end. For a simple visual explanation of how voltage, current, and LEDs work together, this engineering video provides useful background before planning longer false-ceiling strip runs.
A field example: one apartment project used 12V strips around a 22-meter living room cove with single-end feeding. The far side looked yellow and dim. Replacing the layout with 24V strips and two feed points fixed the visible imbalance.
| Parameter | 12V LED Strip | 24V LED Strip | Practical Impact |
|---|---|---|---|
| Best run length | Short runs | Medium to longer runs | 24V suits ceiling perimeters |
| Current at same wattage | Higher | Lower | Less cable stress with 24V |
| Voltage drop risk | Higher | Lower | More even brightness with 24V |
| Cutting interval | Often shorter | Often longer | 12V offers finer cutting points |
| Driver selection | Common | Common | Both easy to source |
Pro Tip from VST Technical Team: “For false ceiling runs over 5 meters, design with 24V strips and feed from both ends where possible. It costs less than a callback.”
4. How Much Wattage and Brightness Do You Need?
Wattage is not the same as brightness. This is one of the most costly misunderstandings in ceiling lighting. A 14.4W/m strip from one supplier may produce less usable light than a 9.6W/m strip from another supplier if LED efficiency, PCB copper thickness, and thermal design are weak.
Common Myth: Higher wattage always means better brightness.
Reality: Lumen efficiency, LED quality, heat dissipation, and diffuser loss decide real output. High wattage without proper heat control can create fast lumen decay and customer complaints.
For soft cove lighting in homes, 6–10W/m often works. For larger commercial coves, 10–15W/m is common. For bright indirect office lighting, the design may need higher output or multiple rows, but thermal checks become more serious.
| Application | Suggested Wattage | Approx. Lumen Target | Notes |
|---|---|---|---|
| Decorative cove | 4.8–7.2W/m | 400–700 lm/m | Mood light, not main light |
| Residential ambient | 8–10W/m | 700–1,000 lm/m | Good for living rooms |
| Hotel corridor | 9.6–12W/m | 900–1,200 lm/m | Use tight CCT binning |
| Retail ceiling | 12–15W/m | 1,200–1,600 lm/m | CRI90 preferred |
| Office indirect light | 14–20W/m | Project-based | Needs profile and thermal review |
False ceiling design also affects perceived brightness. A white matte cove reflects light better than a dark wood recess. A 100 mm setback spreads light more softly than a 30 mm slot. So, calculate the space, not just the strip label.
5. Which Color Temperature and CRI Should You Specify?
Color temperature shapes the feeling of the room, while color rendering index (CRI) affects how naturally objects, finishes, and materials appear under the light. For LED strip lights for false ceiling designs, 2700K and 3000K are popular for homes, hotels, restaurants, and lounges. 4000K works well in offices, clinics, supermarkets, and modern commercial interiors. 5000K or 6000K can look too cold in many indoor ceiling coves unless the design intent is very crisp.
Color consistency is where procurement teams should pay close attention. If different batches are installed in the same ceiling plane, even a small CCT shift can be visible. One project we reviewed had 3000K strips from two production lots. Both were sold as “warm white,” but one side looked pink and the other looked green. The installer had to replace the full cove.
In our lab tests using integrating spheres, CCT and CRI readings are checked against actual electrical load. We also recommend defining tolerance, such as 3-step or 5-step MacAdam, for premium spaces.
| Space Type | Recommended CCT | Recommended CRI | Reason |
|---|---|---|---|
| Luxury home | 2700K–3000K | CRI90+ | Warm, rich material appearance |
| Hotel lobby | 3000K | CRI90+ | Comfortable and premium feel |
| Office | 4000K | CRI80–90 | Neutral working light |
| Retail fashion | 3000K–4000K | CRI90+ | Better fabric and skin tones |
| Clinic or lab | 4000K–5000K | CRI80–90 | Clean visual environment |
For mixed projects, request sample approval under the same diffuser, profile, and ceiling material planned for the site.
6. Do False Ceiling LED Strips Need Aluminum Profiles?
Yes, and understanding why LED strips need aluminium profiles is especially important in false ceilings because profiles improve heat transfer, mounting stability, protection, and long-term reliability. They provide mechanical protection, cleaner mounting, better heat transfer, and a more finished look where the strip may be visible. Even inside a hidden cove, aluminum channels can reduce early lumen decay and adhesive failure.
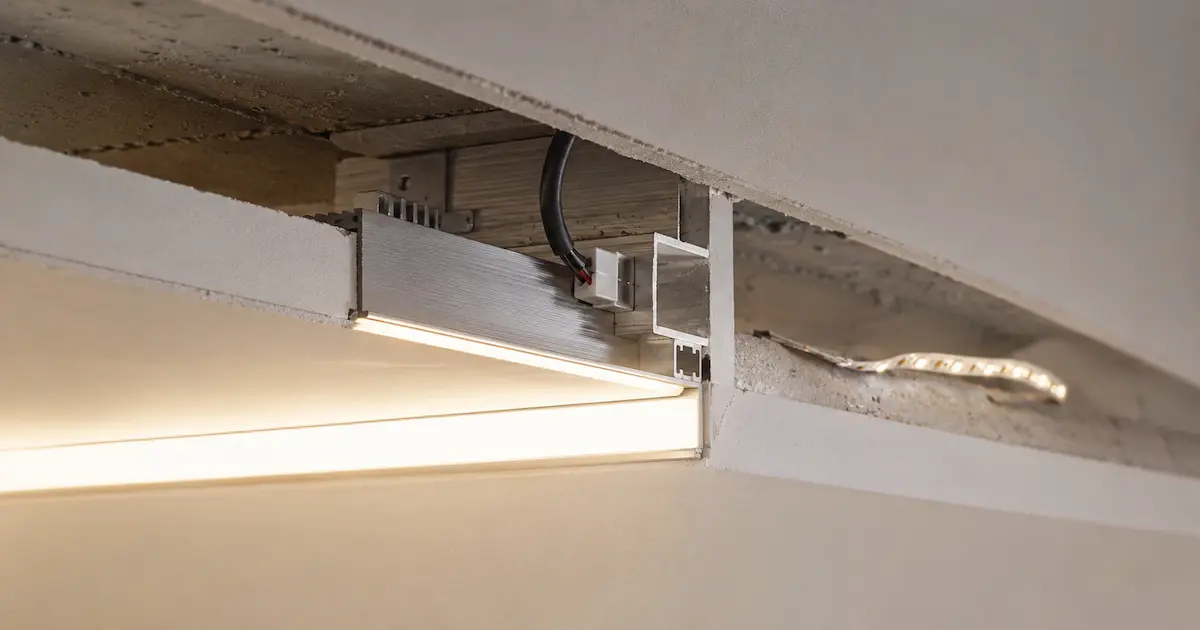
We often see installers struggle with self-adhesive tape in dusty ceiling recesses. Gypsum dust, paint residue, and humidity weaken bonding. After several months, the strip may sag or detach. That creates uneven light and can place stress on solder joints.
Aluminum profiles solve several problems at once:
- ● They act as a heat sink.
- ● They keep the strip straight.
- ● They protect against cleaning damage.
- ● They help diffusers create a smoother light line.
- ● They make future replacement easier.
A shallow cove may need a 45-degree profile to throw light across the ceiling. A narrow ceiling slot may need a deeper LED ceiling profile with an opal diffuser to hide LED dots and create a smoother architectural light line. For COB strips, the diffuser is less about dot control and more about protecting the strip from dust and touch.
For larger projects, working with experienced aluminium LED profile manufacturers can make it easier to select the strip, diffuser, profile depth, and thermal design as one coordinated system. A powerful strip mounted on thin plastic is a heat problem waiting to happen. A moderate wattage strip mounted on aluminum usually gives better lifetime value.
7. How Should Power Supplies and Dimming Be Planned?
The power supply decides stability, safety, and service life. For LED strip lights for false ceiling projects, use a constant-voltage driver that matches the strip voltage, usually 24V. Before selecting the power supply, calculate the correct driver size for LED strips from the total connected wattage and then leave sufficient capacity headroom. A common practice is to load the driver at no more than 80% of its rated capacity.
Example: if the ceiling uses 20 meters of 10W/m strip, total load is 200W. A 250W driver is a practical minimum. If the installation runs long hours or sits in a warm ceiling void, a 300W driver may be safer.
Dimming needs early planning. Phase-cut dimming, 0–10V, DALI lighting control, DMX, RF, and Wi-Fi controls all have different wiring needs. Retrofitting dimming after the ceiling is closed can create project delays and extra labor cost.
| Control Type | Best Fit | Benefit | Watch Point |
|---|---|---|---|
| Non-dimmable | Simple coves | Lower cost | No scene control |
| TRIAC phase-cut | Residential retrofit | Works with many wall dimmers | Driver compatibility varies |
| 0–10V | Offices, commercial | Smooth control | Needs control cable |
| DALI | Hotels, smart buildings | Addressable scenes | Higher setup skill |
| DMX | RGB/RGBW projects | Accurate color scenes | Requires proper addressing |
Driver location matters too. Place drivers where maintenance teams can reach them. A driver sealed above a finished ceiling with no access panel is a future liability, not a clean design.
8. How Do You Avoid Voltage Drop and Uneven Brightness?
Voltage drop causes one of the most visible failures in false ceiling lighting: the strip is bright near the power input and dim at the far end. It may also shift color in warm white strips, which makes the problem even more obvious.
The fix starts with layout planning. Use 24V strips for longer runs, feed from both ends, split long perimeters into shorter zones, and use cable sizes that match the current. For high wattage projects, avoid running 15 or 20 meters from one feed point unless the strip is designed for that purpose.
A practical field example: a restaurant used 18 meters of 12W/m strip around a ceiling island. The contractor powered it from one corner. After two hours of operation, one side looked weaker. We recalculated the load, split the circuit into four 4.5-meter sections, and used larger feed wires. The light became balanced.
Quick rules:
- ● Keep each run within supplier-rated length.
- ● Feed long runs from both ends.
- ● Use parallel wiring rather than one long daisy chain.
- ● Put drivers closer to load zones.
- ● Check voltage at the strip end during full load.
This matters to your bottom line because voltage drop complaints are hard to defend. Clients can see the fault immediately, and repainting or ceiling access can cost more than the strip itself.
9. What Installation Checklist Reduces Callbacks?
A disciplined checklist saves time. False ceiling LED strip work usually happens near the end of a project, when pressure is high and access is poor. Small mistakes at this stage can cause expensive rework.
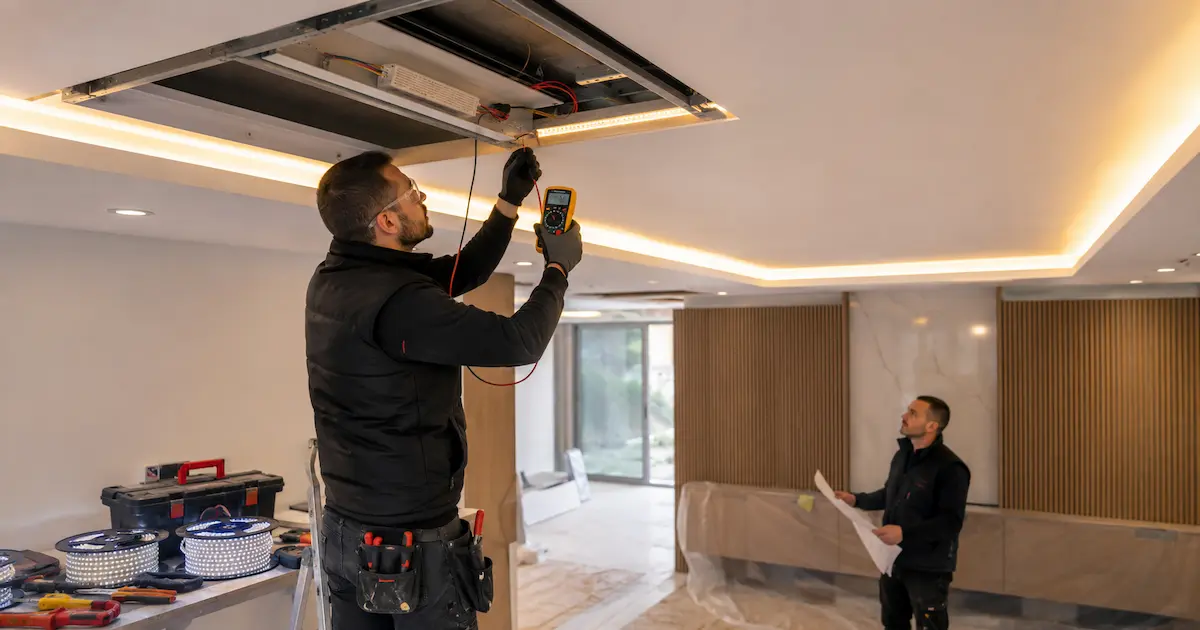
Before installation, test every roll on the bench. Confirm voltage, CCT, brightness, and dimming behavior. Clean the mounting surface carefully before installing strips or profiles, especially when using a drywall LED channel on ceilings where gypsum dust and paint residue can affect installation quality. Mark feed points and driver locations on the drawing. After installation, run a burn-in test before closing access panels.
| Step | Site Action | Reason | Failure Prevented |
|---|---|---|---|
| 1 | Check strip label and voltage | Confirms driver match | Burned strip from wrong voltage |
| 2 | Bench test every roll | Finds defects before mounting | Labor loss from removal |
| 3 | Clean profile surface | Improves adhesion | Strip sagging |
| 4 | Verify polarity | Prevents no-light faults | Reversed wiring |
| 5 | Measure end voltage | Confirms voltage drop control | Uneven brightness |
| 6 | Test dimming range | Finds flicker early | Client rejection |
| 7 | Run 2–4 hour burn-in | Checks heat and stability | Early failure after handover |
We once saw a luxury villa project fail because the installer mixed 3000K and 4000K reels in adjacent coves. The cartons looked similar, but the ceiling did not. Label control sounds basic, yet it protects profit.
10. What Quality Standards Should Buyers Check Before Ordering?
Before ordering from an LED strip light manufacturer for false ceiling projects, check more than the datasheet. Ask for real test data, sample approval, certification documents, binning policy, PCB thickness, LED brand or grade, warranty conditions, and packing method. The goal is not paperwork for its own sake. The goal is stable project delivery.
False ceilings often hide the product, but they expose supplier quality. If a strip fails, the client does not blame the hidden PCB. They blame the contractor, distributor, or lighting provider. That damages reputation and reduces repeat work.
Key quality points include:
- ● Appropriate lighting safety testing and certification, including CE, RoHS, UL, or CB documentation where required by the target market
- ● Proper copper weight for the load
- ● Stable soldering and clean cutting points
- ● Aging test before shipment
- ● Consistent CCT binning for repeat orders
- ● Accurate wattage and lumen reports
- ● Safe driver pairing recommendations
From our manufacturing floor perspective, aging racks are one of the best filters for early failure. Thermal imaging also helps locate hot spots around resistors, solder joints, and high-density LED areas. For large projects, ask the supplier to keep production batch records. If a later extension is needed, matching the original CCT and output becomes much easier.
Conclusion
LED strip lights for false ceiling designs can look simple, but strong results come from coordinated choices: 24V layout, suitable wattage, stable drivers, good profiles, tight color control, and proper testing. Treat the strip, driver, profile, and ceiling detail as one system. If unsure about voltage drop, CCT matching, or driver sizing, send drawings to our engineering team for a review to reduce site risk.
FAQ
Q1: What are LED strip lights for false ceiling projects?
They are flexible linear LED circuits installed in ceiling coves, recesses, slots, or profiles to provide indirect ambient light, accent light, or decorative effects. They are usually paired with constant-voltage drivers and may use aluminum profiles for heat control.
Q2: Are 12V or 24V strips better for false ceilings?
24V strips are usually better for ceiling perimeters because they carry lower current at the same wattage and reduce voltage drop. 12V strips can work well for short decorative runs where cutting flexibility is needed.
In most professional projects, yes. Aluminum profiles improve heat transfer, keep strips straight, protect the PCB, and reduce adhesive failure. They also help create cleaner light lines when diffusers are used.
Q4: What color temperature is best for false ceiling lighting?
2700K to 3000K suits homes, hotels, restaurants, and warm interiors. 4000K works well for offices and modern commercial areas. For premium spaces, request tight CCT binning so different batches do not show visible mismatch.
Q5: How can I prevent uneven brightness in long ceiling runs?
Use 24V strips, split long runs into shorter sections, feed from both ends, avoid long daisy chains, select proper cable size, and measure voltage at the far end under full load before closing the ceiling.
